bing tracking image

Replacing Trailer Leaf Springs

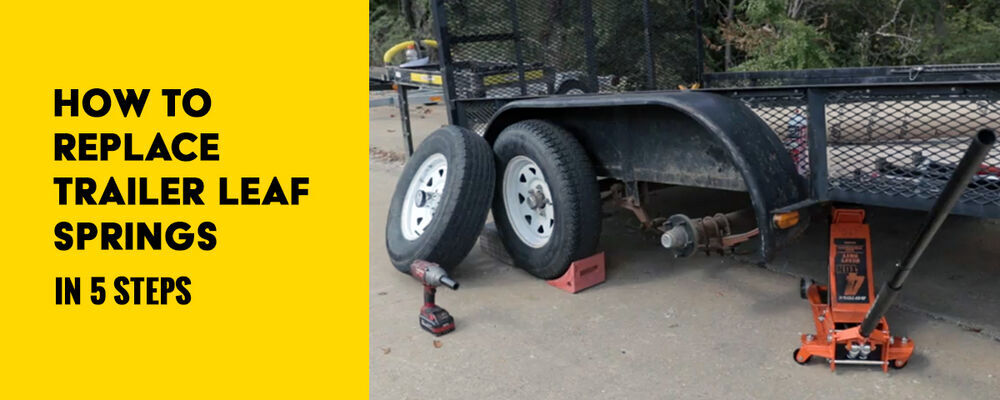
how to replace trailer leaf springs in 5 steps

Replacing trailer leaf springs can seem like a daunting job to a first-timer. Your springs might be flattened out, seriously corroded, or broken, or you might just want to upgrade them to a higher capacity. Whatever the deal may be, one thing remains: you need to safely remove your old springs and install the new ones so that they’re secure and reliable when you get back on the road. Before you stress out about the logistics, let us put your mind at ease: if you’ve ever successfully changed a tire on a trailer or vehicle, you’re already halfway there. Replacing a leaf spring entails a very similar procedure. In any case, we’ll be here to walk you through every step of the process, from jacking up your trailer to securing new bolts on your suspension system.
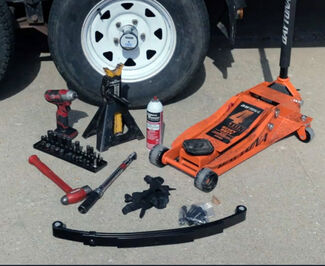
Tools of the TradeIf one thing is certain, it’s that you’re going to need a small arsenal of tools by your side to complete this process. Don’t worry, though: if you don’t already have these items on deck, we offer most of them through the links below.With that said, you will need:
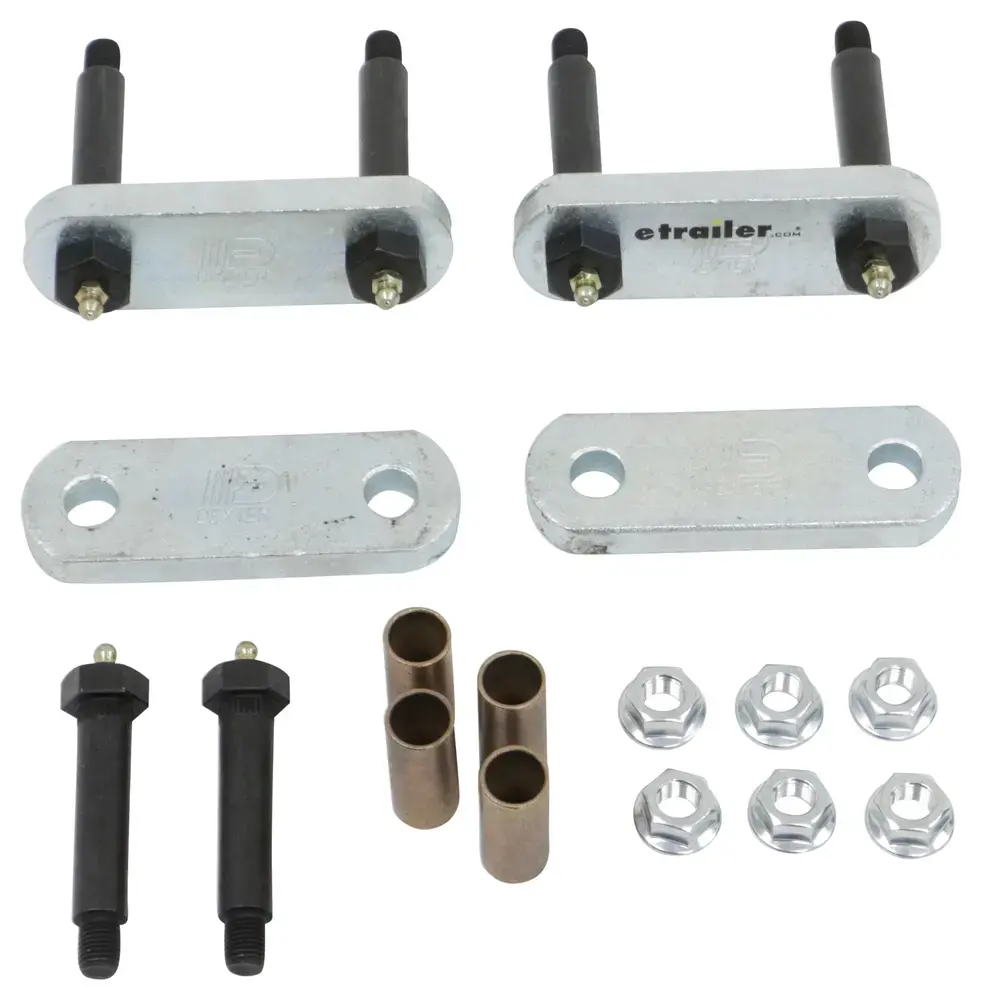
Leaf Spring Replacement Supplies
*Items with an asterisk are optional.
Safety FirstBefore you jump in, it’s important to protect yourself from the rust and dust you’ll encounter while you’re working. A good pair of mechanic gloves will protect your hands from making contact with the corroded hardware that you'll handle in the process.You may also prefer to wear a mask to avoid breathing in the dust and harsh chemicals you'll inevitably encounter while completing this installation. However, only you know your limits and preferences, so use your own discretion when considering this option.
Mechanic Gloves
Mechanic Gloves

Step 1: Preparing Your Trailer for Surgery
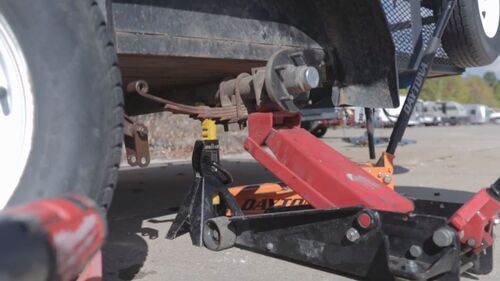
In order to make sure your trailer stays put, we recommend chocking your wheels. If you only have a couple of wheel chocks on hand, chocking your back wheels is better than not chocking at all.Next, it’s time to jack up your trailer. This will make the suspension much more accessible. For this job, a floor jack (or two, depending on the weight of your trailer) might be best for its heavier weight capacity.Start by placing the jack beneath the frame close to the wheels. Raise your trailer until it’s lifted off the ground. Now your trailer is elevated and you can get down to business.
Raising Trailer with Jack

Step 2: Removing Your Tires

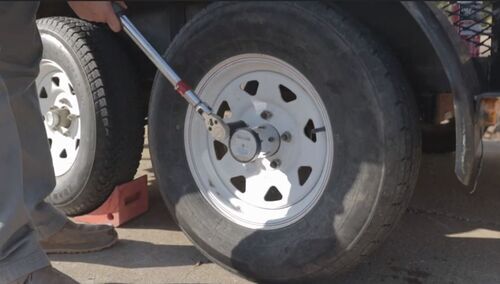
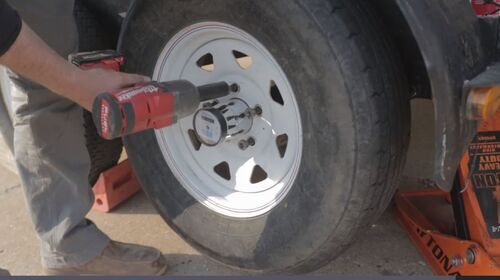
You’ll need to remove your tires so that you can reach your leaf springs. Thankfully, this is as easy as removing the lug nuts with a torque wrench and slipping the tire off the frame.To quicken the process, you can alternatively use a power drill with a socket. The socket size you need may vary depending on the type of lug nuts installed on your trailer, so keep this in mind when you prepare to replace your leaf springs. The most common socket sizes for trailers are 13/16", 7/8", 17mm, and 19mm.
Remove Trailer Tires

Step 3: Removing the Old Springs
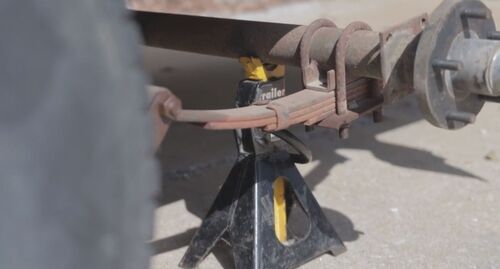
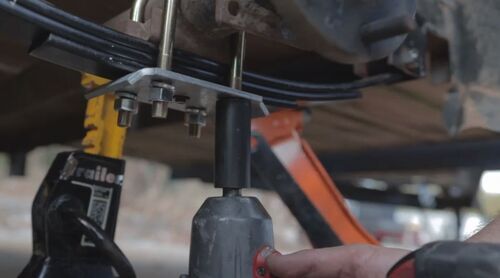
Now that you can see your suspension completely, you can set to work on removing your sagging, broken, or otherwise unwanted leaf spring(s). You’ll likely find the job is easier with the help of an axle jack (in addition to the floor jacks propping up your trailer). Using this tool is pretty straightforward: simply place it directly beneath the axle and jack your trailer up so you can more easily access the center bolt.
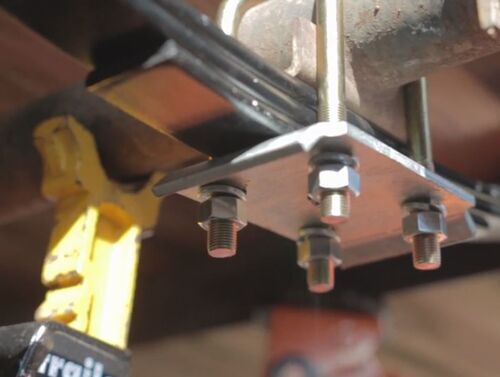
Remove U-Bolt
You can use an axle jack to easily access your center bolts
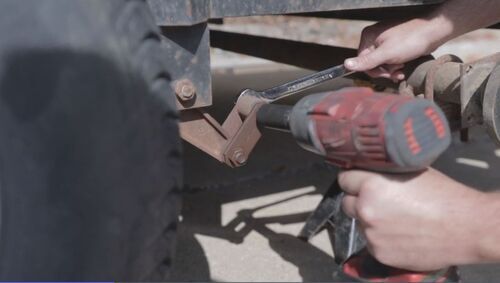
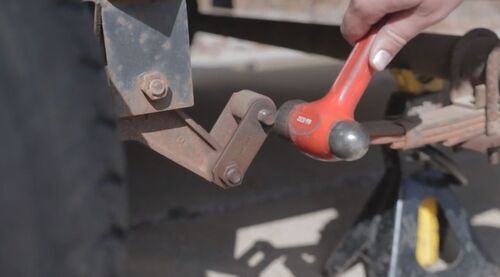
To begin, loosen the two bolts that hold the eyes of the leaf spring in place. If the bolts get stuck inside the eyes, you can use your hammer to knock them loose. You may find in some cases that the bolt still won't budge. If this happens, a narrow pin, like the small end of a pry bar, can be helpful in knocking the bolt loose. Align the pin with the center of the bolt and use your hammer to tap it free. This method is not ideal, but can come in handy in a pinch. Continue by loosening the nuts located on the U-bolt plate. Depending on whether your leaf spring is overslung or underslung, the nuts will either be above or below your axle. Remove the hardware and place it to the side. You should now be able to pull the leaf spring free with your hands.
Remove U-Bolt
Remove U-bolts
Remove U-Bolt
Remove bolts in leaf spring eyes
Use Hammer to Remove Bolts
Use a hammer to remove the bolts if needed
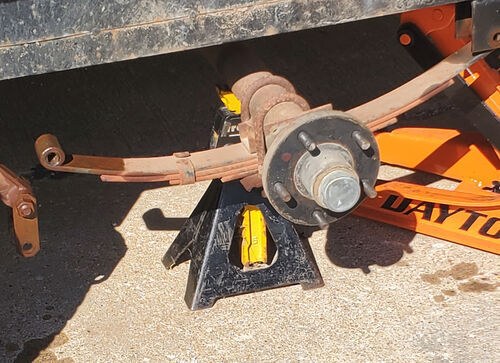
Remove Old Leaf Spring
Remove spring

Step 4: Installing the New Springs
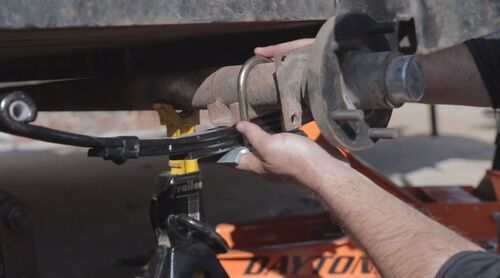
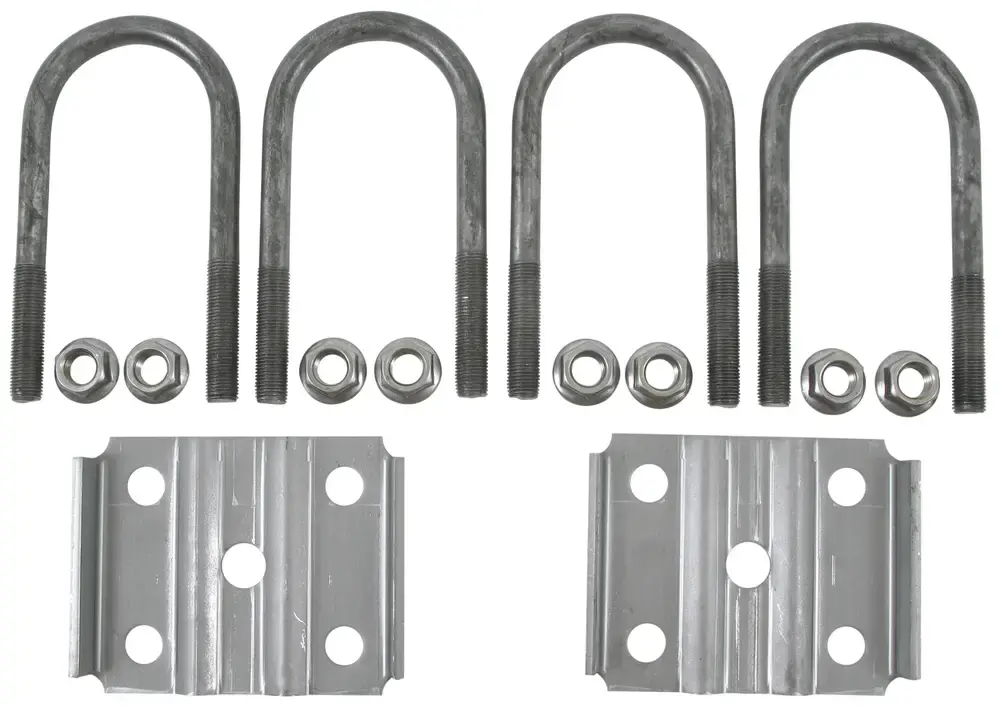
Now that you’ve successfully removed your trailer’s former leaf springs, you’ve probably got a better idea of how to install new ones. Remember that leaf springs should always be installed in pairs so that they wear evenly on both sides. We recommend that you take this opportunity to update your hardware. In fact, you won't have much choice when it comes down to it. While changing out your U-bolt plate is completely optional, your nuts and U-bolts are designed to destroy themselves when you remove them, so you'll have to replace them with new ones. Thankfully, it won't cost you much to do this. Position your leaf spring back in place. Place your new U-bolt around the axle and slot it into the U-bolt plate. Take your new nuts and use them to secure the U-bolts in place. Then, secure them further using your torque wrench or drill.If your leaf springs’ eyes aren’t aligned with the openings in your trailer, use a hammer to gently tap them into place. You can then install the new nuts and bolts, tightening them with your torque wrench or drill once more as you do so.
New Leaf Spring
New U-Bolts

Step 5: Replacing Your Tires

You’re almost there. Now, it’s time grab your tires and hoist them back up onto your trailer. Once you’ve tightened up the nuts and bolts – again, using your torque wrench or drill – you can consider yourself accomplished. You’ve just fully removed and reinstalled your tires and leaf springs!
Replacing Trailer Tire
Post-Op CelebrationAt the beginning of this article, you might have been feeling intimidated by the task before you. Few people get their thrills from replacing their trailer’s leaf spring suspension. Regardless, you, my friend, have now discovered how simple a process it actually is, and can brag to all your friends and family members that you have this sacred knowledge under your belt. Hopefully they won’t put you to work when you tell them. Congratulations on learning a new skill and on your fresh suspension! May your travels always be supported by safe, reliable leaf springs.
Beth Binkley
About Beth B. When I explain my position at etrailer to the folks back at home, I usually preface with, “Writing is about 15% of my job. The other 85% is research, hands-on product testing, and putting myself in the shoes of our customers (whom we call neighbors).” At etrailer, I have the opportunity to explore the products I write about in person every day, a privilege many writers don’t have. On a Tuesday morning, for instance, you may find me outside of a 5th wheel collecting pictures of its scissor jacks for an article. On Wednesday, I might switch gears to measure leaf springs in our warehouse, while Thursday is when I’ll finally get behind the keyboard (that is, in between driving off-site to film how-to videos with the team). If you have a question, it’s my mission to not only provide you with an answer, but to equip you with the knowledge and resources you need to face real-world challenges like a pro.
Related Content Related Products Written by: Beth BinkleyUpdated: 11/3/2022


Departments

Towing

Sports and Recreation

Trailer Parts

Vehicle

What our customers are saying:

"Nice shopping experience. Good selection and prompt shipment. After I see the products in person, I am sure that I will be back for more. Best, Jim"

Jim
Powell, OH

Popular Vehicles