


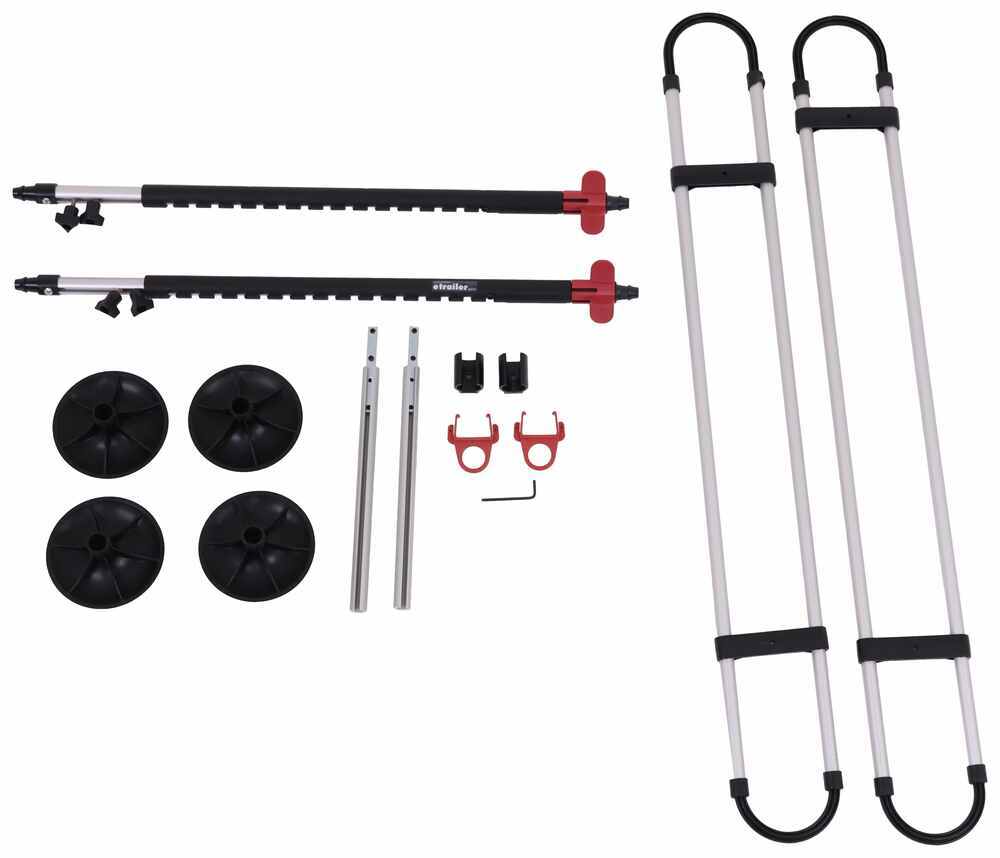


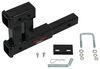
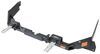
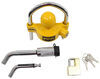
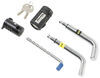
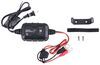
Keep your furry family member safely in the rear of your vehicle with this adjustable pet barrier and height extension kit. Great for taller SUVs, it keeps your pet secure without limiting your visibility while driving. Installs in minutes.
Features:
Specs:

Videos are provided as a guide only. Refer to manufacturer installation instructions and specs for complete information.
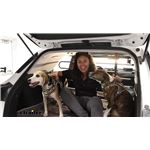
Hey everyone, it's Evangeline here at etrailer and today we're gonna have a fun little product to show off. This is gonna be the WeatherTech pet barrier for your cars and SUVs. It's going to be a universal fit and I'm gonna show you how to fit it but we're gonna have some special guests here, today we have some dogs to demonstrate how much they like or may not like the pet barrier. A big question with pet barriers is how well does it work as a barrier for your pets Well, that does depend on the size of your dog as well as the size of your vehicle. You can see here that Luna's able to fit her head through the barrier, but not the rest of her body. If she wanted to go over it we can adjust this barrier to go up so that she can't jump over.
And for the sides we also have these extensions for the arms. They push out all the way to the sides so she's not able to maneuver around it. So this pet barrier usually has two of these barriers. We actually added the third one because we have smaller dogs. Well medium to smaller sized dogs.
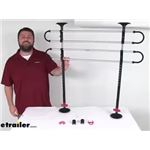
This is usually more ideal if you have your medium to large dogs and if you have your seats up, you can make those different adjustments for those situations. But I'll talk about that as we set this up. here we have a Chevrolet Trailblazer which is gonna be a smaller SUV. And because of that, while we did extend out the barrier with this extra piece, we did not use the height extension. So let's talk about that height.
So the minimum height this can reach is gonna be 30 inches. If your vehicle is lower or where you need to attach is less than 30, this will not fit. Now, for the maximum height though, without the extension it's gonna be 46 inches tall. With the extension it's gonna go all the way up to 57 inches. As for the width, the minimum is going to be 39 inches.
And if you push both sides out all the way you're gonna have a maximum width of 66 inches. So where this shines is it's very quick and easy to set up and take right back down once you figure it out how it's supposed to fit on your vehicle. Now figuring out where the height of the barriers need to go where it's best to put those legs that will take a little bit of time, but after that it's just a quick loosening of the red locks for the feet and then you can take it out of your car. The owner of this vehicle, she actually hangs it inside of her garage all ready to go. That way, whenever she needs to take her pets out to maybe go to the vet or for a quick trip to the park she can easily set that up inside of her vehicle and go. Now some situations where this may not be ideal is if you're intending on a more long term use. This is made of aluminum, so on its own it does hold up pretty well, but because of how it pushes against your headliner and against your vehicle, you may not want that for your vehicle for long-term use. So she's using this perfectly for just quick and easy setup. If you are intending on a pet barrier for your pets for long-term we do have some other options for you like nets that go over the back seat, things like that. Some other things you may consider is having a cargo liner for your vehicle. I know WeatherTech has their custom fit liners. Etrailer also has a cargo area blanket that goes over. That one is going to be waterproof so ideal for when your dogs drool all over the place. As well as for managing the fur. Here I have it partially set up. So what I did is I put the legs or the feet on first, and because we're using one of the barriers where the tray is and not where the brackets are I installed that before putting on the leg. There is gonna be a screw here at the bottom that you're gonna have to take off first before putting this through. But that's just more of a specific to this situation way of doing it. So now that we have that set up I'll show you how to get it fit for your car. If you plan on using this in a vehicle with another row of seats and you plan to have those seat backs up then having the red locks on the bottom is how we people usually do this but in our case here, we're gonna have the seats down. So we need to cover this entire area. So what we're gonna do is we are going to flip this around like that, and that way we can add our barriers so that even the bottom part is covered as well as the top. So you're going to get two of these clips and these clips are used to arrange the barrier. So this goes up and down and then in order to secure its spot you turn the entire thing and then it fits into the grooves. So once it fits into one of those grooves, it no longer can be moved up or down, which holds that in place. So based on your own vehicle and your own barriers that might determine where you put this. Do you need it higher up or a bit lower down So another thing you can do while you are checking for the height that you need this all to be is you can also check for the width. So the sides of your barriers extend out. Now they extend out after you install them meaning you can get this all installed and then move this so it makes contact with the side of your vehicle and covers up all that space. So don't worry about the width just yet. Right here we have it at a pretty good height. So what I'm gonna do now is I'm gonna set those barriers up. So here we're gonna put the clip on we're gonna twist it over to the side. As you can see how it's not moving up and down anymore. We'll do the same thing on the other side and then we're going to get our barrier. The barrier fits over that clip and that bolt and then it is secured with this wing nut. So do that for both sides. So even with these wing nuts fully tightened down and you could maybe go a little bit further you might notice that yes, it is pretty secure but if you put a lot of effort or force into it you will go down those different notches. That's because those notches are brackets are just made of plastic. So you still have a little bit of wiggle room there but that's what these locks are for. Once you have them in the position you want them to be you then make sure that's lined up. Make sure the wing nut is tightened down. You then put the lock into that clamp. Notice the way that this is facing, I'm gonna fit this up and over that clamp and push it into place. Now if you notice, it still goes up and down. You may need to just push it until it gets into that notch but this secures your barrier. So this is going to be a rubber pad foot and this fits over your leg. It's gonna be the same on both sides. What's gonna be different though is where it extends. So like I mentioned earlier, I am extending this upwards. While some people might extend it downwards you'll make sure it's flat against your headliner as you push up because you want it evenly sitting on your headliner to create that tension. A main question some people might have is will it cause damage to the vehicle And on that note, it really does depend because you have those flat legs that should help distribute that push. But it's still a push on your headliner and your cargo space. So for example, the owner of the vehicle here when she would have those legs like close to the center light she noticed that the headliner was pushing away from that center light creating a gap. She also noticed that there would be a gap in between her plastic parts of her vehicle as well as that liner. Now, for when she was using this though that was just really quick times like to visit the vet or visits to the park. She did not have as on permanently. So when she would uninstall it everything went back into place. So it does depend, are you using this a lot Where are you putting this barrier Is it going to be close to places that may create gaps between the headliner and your other parts of your vehicle or not This is available as just the universal barrier or the universal barrier with the height extension. All those can be found here at etrailer.com. But right here, right now, this was a look at the WeatherTech pet barrier for your cars and SUVs. My name is Evangeline and I hope you enjoy the journey.
Info for this part was:
At etrailer.com we provide the best information available about the products we sell. We take the quality of our information seriously so that you can get the right part the first time. Let us know if anything is missing or if you have any questions.


Thank you! Your comment has been submitted successfully. You should be able to view your question/comment here within a few days.
Error submitting comment. Please try again momentarily.