
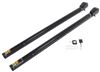
Designed for use on 7/16", 1/2", 9/16", and 5/8" studs, this kit lets you quickly clean away rust and corrosion on your wheel studs and hubs to ensure proper wheel mounting. Requires handheld drill (not included).
Features:
Videos are provided as a guide only. Refer to manufacturer installation instructions and specs for complete information.
Hey everybody, how's it going Today we're going to be going over and showing you how to use the counteract stud cleaner kit. As you can see now, our studs are very clean here. They have a nice, good finish. However, we weren't really doing this for aesthetics. The main reason we need to make sure we keep our studs clean is it can run into issues, if you take your wheels off a lot, we can run into issues with cross-threading possibly damaging the stud, which could in turn cause you to have to replace the hub, which is definitely gonna to lead to a lot more money later down the road. So making sure your studs are in nice, smooth working condition, we take one of our lug nuts.
For example, we should see a pretty big improvement on how smoothly that threads on. That's much easier than before, we can thread it all the way down without a tool. So really what we're going here. Although we we're alluding to the aesthetics of it, we're really going with the function. We want to make sure that our studs are nice and clean.
There's no debris that gets in there or threading on our lug nuts, chewing up the threads on the studs, possibly damaging the stud and making us replace the hub. Another benefit we're gonna have from having squeaky clean wheel studs is in regards to torquing. So almost every application is going to call for a specific torque for our lug nuts. And when we have dirty studs and we thread the nuts on there, they're gonna create an additional resistance. And torque wrenches actually work off resistance.
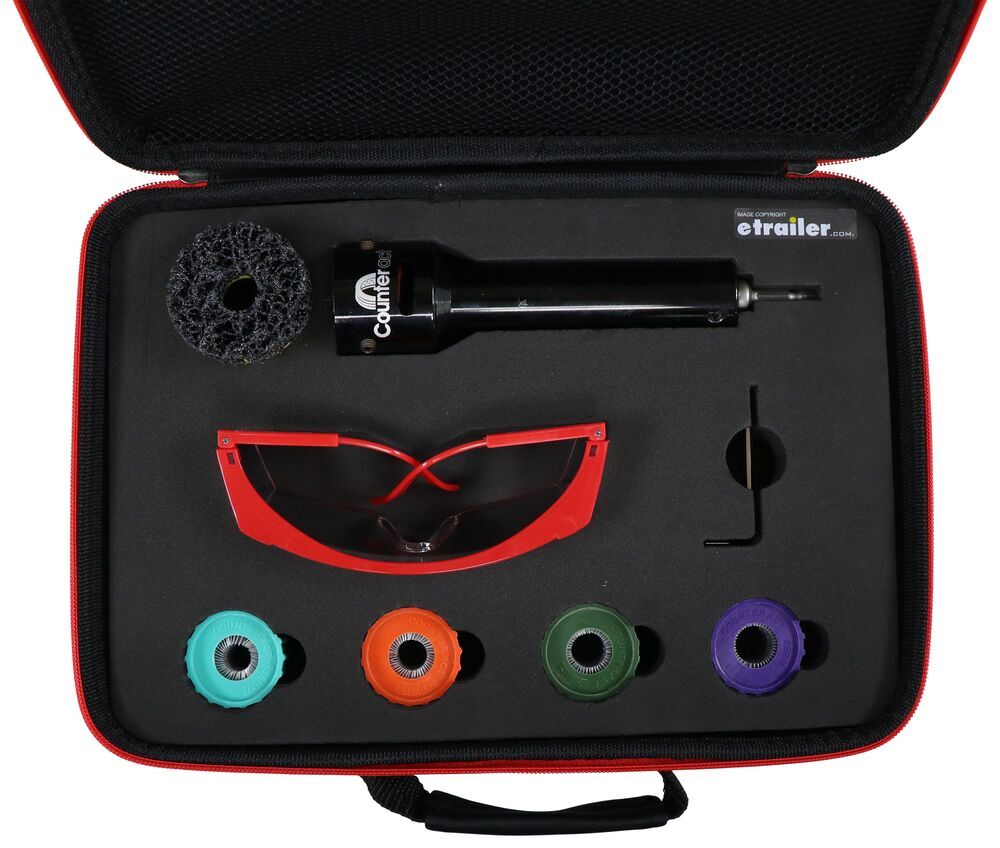
That's how they tell they've reached the proper torque, therefore by adding dirt and debris within the nut there, we're actually gonna be getting an improper torque reading on our torque wrench and possibly not torquing the nut to the correct value that the manufacturer specifies. So be having those nice and clean, we not only reduced the risk of damaging the hub or the stud. We also ensure we have proper torque values keeping us safe, arriving to our destination. For the first part of our installations, we're gonna take these safety glasses out of our kit. We're gonna put those on while we're working.
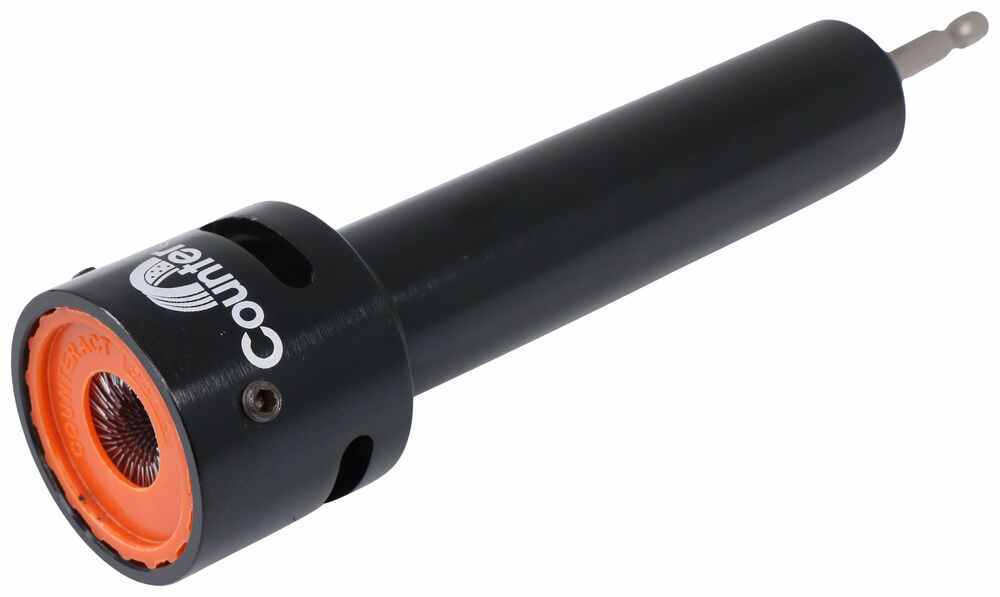
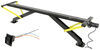
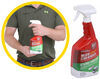
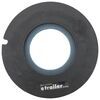
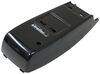
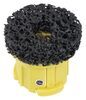
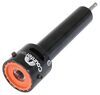
And if you have an extra set of gloves nearby, certainly a good idea to protect our hands as well. But now we can secure the piece of equipment we're gonna be working on. For this particular application here, we have an off-road trailer. So what we're gonna do is, we're gonna make sure that we have plenty of support here. You've got a couple jack stands under the trailer to keep it nice and stable when you remove the wheel, we also have a four jack as well. But now that we have our equipment secure, we can go ahead and remove our wheel and tire using the appropriate method. Now that we got the wheel off, we can take a closer look at our studs here. Now I'll be the first to admit this one really isn't that bad. We do have some dirt buildup, some corrosion forming on these, but for the most part, these really aren't that bad, but they could still definitely use a clean to ensure we don't have any issues down the line. So now, let's go ahead and prep our kit here, so we can get ready to clean each of these. In our kit here, we have several different wheels, several different sizes, which are denoted with different colors. We have the smaller sizes on the left here, and then we have the larger sizes on the right, these ones on the right go with that larger drive that we showed you earlier. The ones on the left use a smaller drive. So now we need to determine what is the correct one for our particular studs here. So if you want to break out a caliber, you can obviously measure those, that way you get, make sure you get the correct match. Another good thing to do is just go ahead and test them up there yourself, just to see which ones go on there. You can see that one's actually a pretty good fit. If we take the next size up, this green one here, you can see it's too loose. It just slides on and off. Now I already know that the studs on this trailer are a half inch, 'cause I've worked on enough trailers to know that. But if you guys don't know what size studs you have, a good way is just to take your little wire wheels there and just test it then. That one is way too loose. But if we take this orange one here, this is actually a half inch. You can see it fits on there nice and tight and this is the one the need to use. Now that we've chosen the correct size, we'll go ahead and drop it into our drive. Take one of the Allen keys that comes in your kit. We're going to have two Allen screws here. Actually there's one on the back too, for a total of three, we need to go ahead and just snug all these up to hold our wire wheel in place. You don't want to get too carried away with this 'cause you actually can break that plastic so, just a couple turns past snug there, should be plenty. And that should be good. Place it on our drill. And I'm sure you kind of imagine what's going to happen next. We're going to be placing these studs, each of the studs coming off our hub here, through the wire brush there and then turning the drill to clean it. Now, what I would recommend doing is taking some sort of penetrating oil there and spraying down each of the studs where they clean them to give them a little bit of a better finish here. Just do a better job of helping get all the contaminants off there. So we'll go ahead and spray it down. Now we'll take our drill here. You're actually going to be using the actions of the drill to go forward, and to go backwards. And we're just going to continue the same process here, until we've cleaned our studs sufficiently. Now, granted, the more dirty or build up there are on your studs, the more passes we need to make. So again, we're just going to continue the same process here, until we have the stud, nice and clean. And then we repeat that same process on our other studs as well. It's a good idea to come back periodically and just spray them down. You can see tons of that dirt is dripping on the floor. So we know this is working very well. So that one there looks pretty good. I think I'm going to move on to our others so we can repeat that same process and get that same level of clean. So we went ahead and cleaned each of our studs individually. Now we would obviously need to jump onto the other side of our application and repeat that same process over there. If it has more than one axles then we wanna do that for all of them as well. And that's going to do it today for our look at the counteract stud cleaner kit..
Average Customer Rating: 5.0 out of 5 stars (1 Customer Reviews)
Designed for use on 7/16", 1/2", 9/16", and 5/8" studs, this kit lets you quickly clean away rust and corrosion on your wheel studs and hubs to ensure proper wheel mounting. Requires handheld drill (not included).
Info for this part was:
At etrailer.com we provide the best information available about the products we sell. We take the quality of our information seriously so that you can get the right part the first time. Let us know if anything is missing or if you have any questions.


Thank you! Your comment has been submitted successfully. You should be able to view your question/comment here within a few days.
Error submitting comment. Please try again momentarily.