Custom Fit Kit for Inno XS200, XS250, and INSU-K5 Roof Rack Feet

2001 Toyota Sienna
Will this fit?
To see if this custom-fit item will work for you please tell us what vehicle you'll use it with.
- All Info
- Reviews (606)
- Q & A (0)
- Videos (1)
- Photos
Inno Roof Rack - INK856
- Fit Kits
- 4 Pack
- Inno
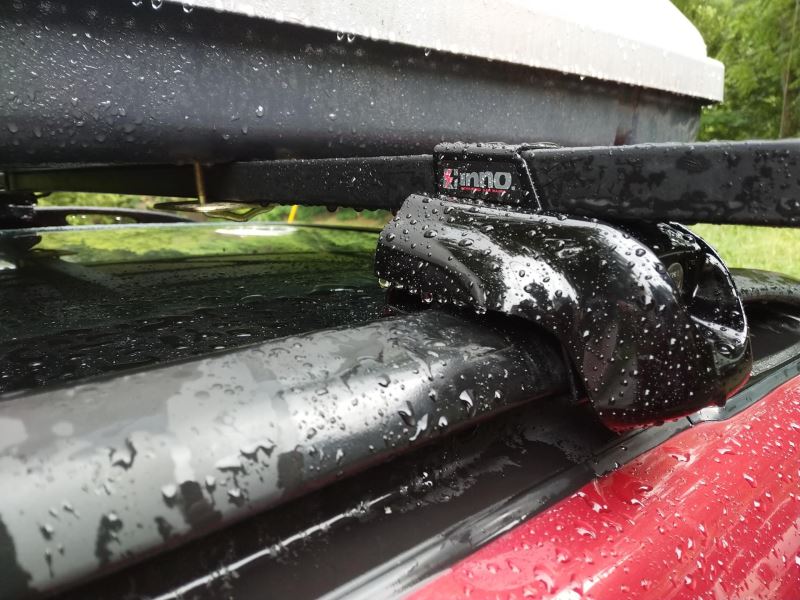
These custom-fit clamps and pads let you mount 4 Inno XS200, XS250, or INSU-K5 feet to your vehicle's naked roof to help create an aftermarket roof rack system. Clamps mount to feet with bolts. Kit includes 4 clamps and 4 pads.
Features:
- Custom-fit clamps and pads let you install Inno roof rack feet on your vehicle with a naked roof
- Works with XS200, XS250, or INSU-K5 feet
- Pairs with 4 feet and 2 crossbars (sold separately) to create a complete roof rack
- Clamps are designed specifically to fit the curves of your doorjambs
- Mount to roof rack feet with bolts
- Molded pads are custom designed to fit the contours of your roof
- Protect your roof surface from scratches and abrasions
- Press onto the bottoms of your roof rack feet
Specs:
- Quantity: 4 clamps and pads
- Limited lifetime warranty
K856 Inno Fit Kit Hooks for Flush, Through, and INSU-K5 Stays
Installation Details

Videos are provided as a guide only. Refer to manufacturer installation instructions and specs for complete information.
Video Transcript for Inno Aero Crossbars Installation - 2022 Ford Maverick
Hi everyone, Aidan here with etrailer. Today we're gonna be taking a look at and showing you how to install this Inno flush feet roof rack system on top of our 2022 Ford Maverick. So a roof rack can be good for a number of things. Things like lumber or kayaks that are maybe a bit longer that aren't gonna fit very well in the bed of our Maverick or just having some extra space. Let's say we don't have a tonneau cover and we've got some luggage for a trip that we don't have room for inside the vehicle and we don't want it out in the bed. We could put a roof box up on top of the crossbars here so we have some covered and locked up storage on the roof rather than having it in the bed.
So this uses Inno's flush feet, which means that there's gonna be no overhang on the crossbars. Everything's contained in the feet right here locked up. So it gives us more sleek and finished look for some people. Personally, I like a little bit of overhang. You can see for my ladder rack we've got some overhang on the crossbars there which can be a good utility for certain things like load assist kayak carriers that need some overhang.
But really it just comes down to preference and style because functionally there's not too much difference besides that load assist kayak carrier application. The crossbars themselves are gonna be an aero bar which means they're a little bit thicker in the front and taper off towards the back. That's going to help with wind resistance and just help them be a little bit quieter overall, they work really well for most clamp around accessories, but you also have this rubber strip in the top that it can be used for T track accessories that's accessible by unlocking and taking off the end cap of the feet. And you can see that's where we've got the opening for our track where our accessories can just slide down in and through. The weather stripping's gonna really help with wind noise because without that, it's going to make a lot of noise and be pretty annoying going down the road.
And the fact that you can just slide it along means you don't have to cut anything or make any modifications to the weather strip. Leaving this all undone, you can see the fit kit. That's gonna be the rubber pad that sits on the base of the roof that makes contact with this lip and the clamps that will go around and into the openings of the door and hook underneath there to give us a good secure fit. All that gets locked up whenever we put the cap back on so no one can get to it when these are on and locked up. And you can see it gives us a pretty sturdy and secure fit on the roof as well.
I'm not able to move the crossbars at all but it is moving the entire truck by shaking it from there. This is a pretty low profile system, but I do wanna check out the space we have underneath the crossbars which is gonna be about 1 1/2" of space from the bottom of the bar to the top of the roof. So that's the room we have for our clamp around accessories. As far as the distance that adds to the top that's gonna be 2 3/4". Now with it, I will say that it's not going to clear the antenna here, so if we did have something like a roof box that came into contact with this we would have to unscrew and remove this in order to fit some of those longer accessories over that. As far as the weight capacity goes, that is going to be a limiting factor here, it's only 100 pounds. So for the whole system that's pretty below average. I'd say most of the time these roof rack systems tend to hover around that 165 range. And granted, you're not gonna be putting a ton of weight on your roof, but I would just like a little bit more head room to mount both the accessory and whatever is loaded in the accessory whether it be luggage in a box or a kayak on a kayak carrier because you do have to factor in the weight of the accessory itself in addition to what's loaded in it. So for me, 100 pounds is just a little bit low, for me I'd maybe look into the Rhino-Rack system that does have a higher capacity. That one also has the feet that don't contain the whole crossbar and will have a little bit of overhang. So if you're into that style and you want a bit more capacity, that's the way I'd go. As far as the installation process goes, it's fairly straightforward. Most of the measurements and the instructions are very easy to follow but we did have a bit of trouble getting the positioning of these right because the instructions are for the through feet rather than the flush feet that we're using today. So follow along, we'll walk you through what we did to make sure that this fit properly on the Maverick and it shouldn't be too bad beyond that. First thing we're gonna do is get our crossbars installed. There's a bit of pre-assembly we want to do on the ground first. You can see you've got a rear crossbar installed already, but we'll be going through the front crossbar. I'm gonna flip it upside down first and we're gonna turn our attention to the edge. These crossbars from Inno have this track system and we want to pull it out all the way like this to reveal this open block where we can install our metal block with some threads. There's gonna be a slot and a little bit of a ridge shape. We want that ridge shape for the inside of the crossbar and just slide it back in like that. From there, we're gonna bring it all the way to the middle and push this button down to have it all the way in like that. This slot will line up with our tower. It's got this sort of T shape right there. We've got some threads that will line up with the threaded hole on our block as well as a tab that will line up with our extra slot right there. So I'm just going to kind of lean it down like that at an angle and pull it out to the side set it down flat once it's out there and use the provided tool to tighten down this bolt in the center where this slotted hole is. At this point, I've got it threaded down so I can still move the tower back and forth but it's not going to come loose if I try to bump into it, it's at least started. But what we're gonna do is actually take a measurement from the center of our crossbar there's a marking, we want to go to where our tower starts. Now they give you a measurement in your instructions but that's for the through feet. We have the flush mounted feet right now. So our measurement didn't line up with what the instructions that we had gave. So we found that for the flush feet a measurement of 20 7/8" was giving us pretty good fitment. You could probably play around with it a little bit more and do some more fine tuning and maybe get something that's even more accurate. But for us, that worked pretty well on the rear crossbar. So for the front crossbar that's what I'm gonna start off with. When you've got that measurement all set, you can come back through and tighten down that bolt fully until you hear some clicks from your tool letting us know it's torqued down properly. In the end of the tower here, there's a bolt that can control the pivot of the tower. Again, just use the provided tool to loosen that up and that will, as you can see unlock some side to side movement. We're gonna leave this loose for now and we'll adjust it when we have it on the roof. And the last thing we need before we take it to the roof is our fit kit. These pads are gonna go and make contact with the actual roof, and these ones are gonna be the same for the front left, right, all the different positions so we don't have to keep track of which one is which. We do wanna make sure we align it properly. You can see we've got five indentations, four on one side and then one in the middle. Those will line up with some screws on the tower. So just get those lined up and push these tabs into the holes right there. We want the thick side of the bar facing towards the front. And one thing to note about those towers that we didn't mention before is that they are side specific. There's a small diagram on the top that'll match up. You can see the thicker part of the aero bar is on the front matching up with our crossbar and the tapered end is matching up there as well with an L for left hand side or driver's side. And the other side has an R for right hand or passenger side. So we can get this set up in place now I'll probably need to go to the other side and get it all adjusted properly. But essentially you want that fit kit to line up with this ridge on the roof like that and we'll get our positioning all fixed up. Your instructions are gonna give you two measurements, one from the center of the door jam to the back crossbar centered up and then one from there to the front. So for us, we've already got our back one in position. We're gonna go from the center to the center of the crossbar. We want that to be 11 3/4". So for ours on both sides we want it lined up right about there. Again, take that measurement on both sides to make sure that your bar is running parallel to each other and perpendicular to where the vehicle is going. Once you have this on the roof, you do wanna make sure that you adjust that side to side pivot to match the contour of your roof the best you can and tighten it back down the same way we loosened it up whenever you're happy with it. Once that's been set, get your hook in place. These are the same for all four door positions. And follow that up with your bolt and washers that will go through the clamp and into the threaded block in the tower. I'm just gonna thread this on by hand on both sides and then evenly tighten knit going back and forth between each side because we don't wanna pull the crossbar all the way to one side when they torque this one down. We wanna do it evenly. And as we're tightening down those clamps we're gonna listen for that same click as before to let us know that we're all torqued down properly. You can shut your door and add in the covers. These are side specific, and then lock it up, repeating that process on both sides. And that's really all there is to it for the roof rack on our 2022 Ford Maverick. Thanks for watching.
Customer Reviews
Custom Fit Kit for Inno XS200, XS250, and INSU-K5 Roof Rack Feet - INK856
Average Customer Rating: 4.8 out of 5 stars (605 Customer Reviews)
These custom-fit clamps and pads let you mount 4 Inno XS200, XS250, or INSU-K5 feet to your vehicle's naked roof to help create an aftermarket roof rack system. Clamps mount to feet with bolts. Kit includes 4 clamps and 4 pads.Very well made. Strong material.
Video very helpful
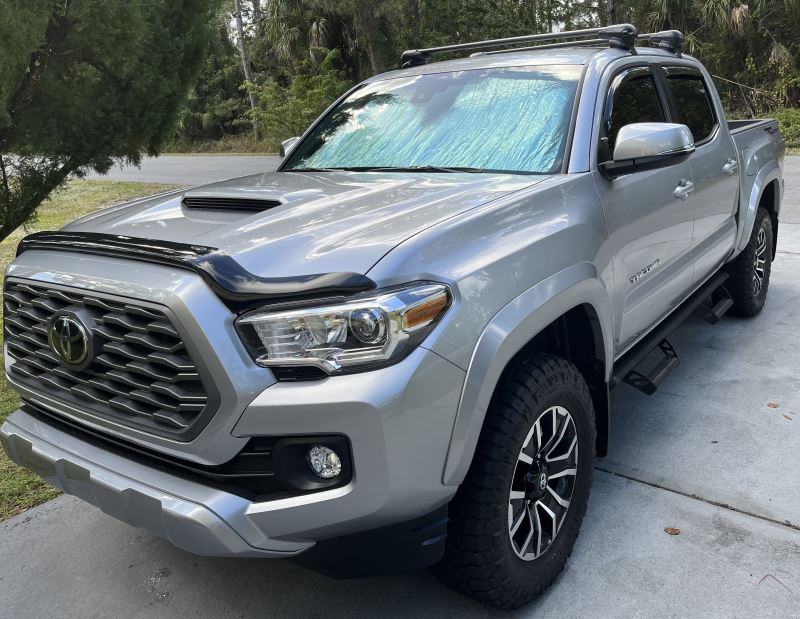
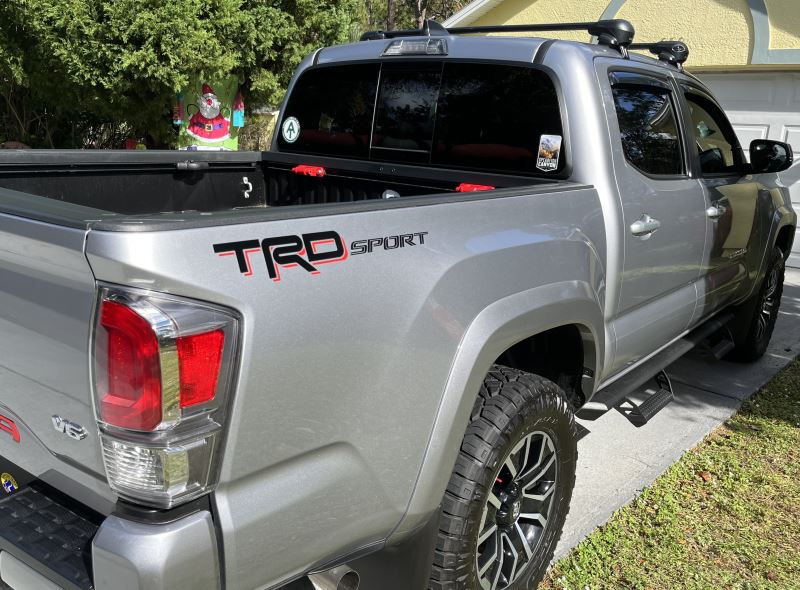
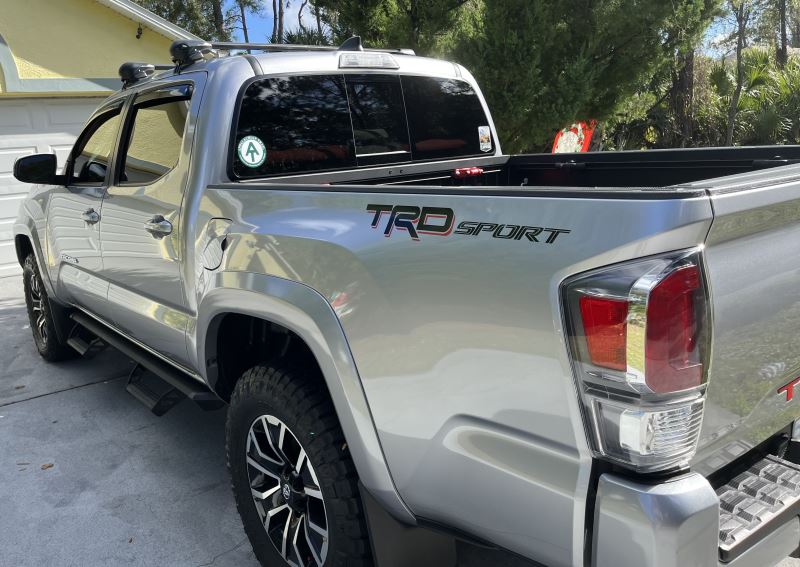
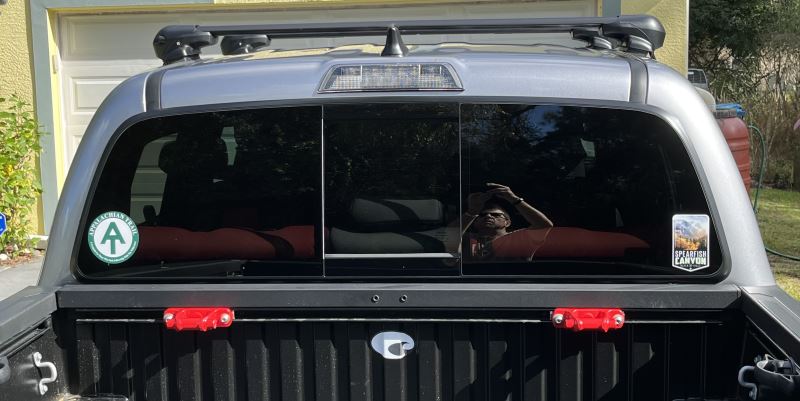
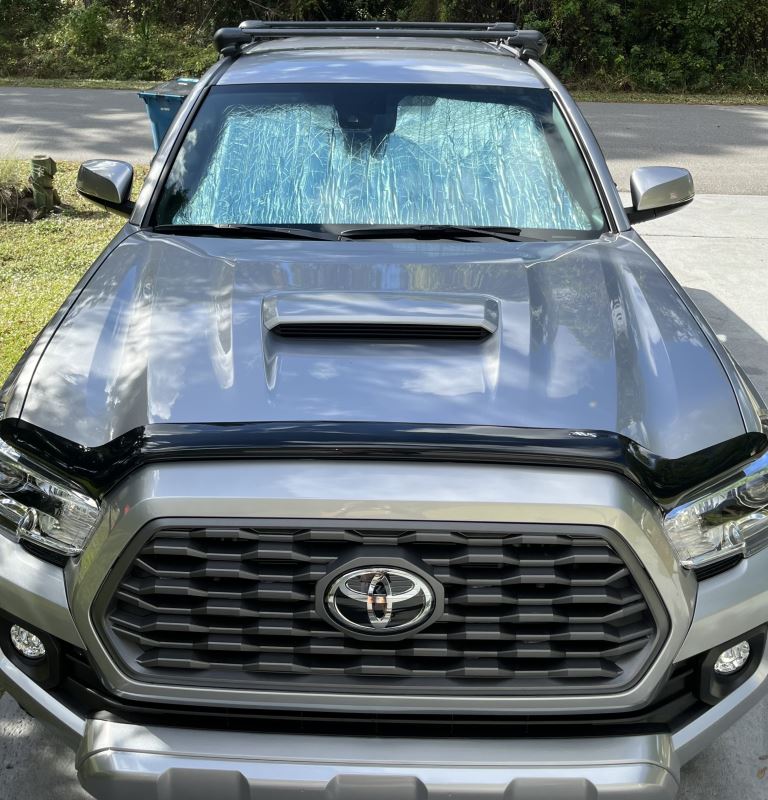
etrailer was great to order from! Going to the website makes it easy to see what roof rack will fit your vehicle. Ordering process was a breeze and the fulfillment updates were great. Ordered on the 13th and received it on the 16th so the FREE shipping was super fast. New installs of anything can always be challenging but once I read the the instructions it all went pretty smooth. Installing this Inno Roof Rack onto our 2021 Tacoma TRD Sport was pretty simple and took less than an hours from start to finish. Now we are ready to load up out Thule cargo carrier when we hit the road.
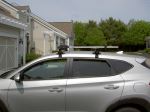
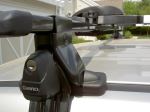
I am writing this review in the context of an owner of an old Yakima roof rack system from many vehicles before the 2021 Hyundai Tucson on which I just mounted four INNO separate sets of components to carry two bikes on top of the Tucson. Note that you need at least three sets of components to have a "base rack" system, including the hooks, in this case the INNO INK680, the INNO INSUT Feet and the INNO INB137 set of crossbars. The feet are rubber coated metal so that they will not mar the paint where they clamp to the edge of the roof just above the doors. The rubber pads are also substantial to provide a slip-proof and paint protecting bottom for the INSUT feet. Read through all the directions for all the components before beginning installation, perhaps even "rehearsing" all the steps before actual installation with tightening everything. The instructions could be clearer, but with practice walking through all the steps they make sense. Once installed, I could grab any part of the completed system and pull upwards, sideways, forwards, and backwards without any play or slack in any of the components. In fact, it was easy to rock the whole car side to side without budging the INNO components at all. Compared to the old Yakima system, the INNO is just as sturdy and substantial if not more so. Just to replace the Yakima "feet" to use my old round Yakima crossbars would have cost more than the total of the three INNO components needed to get the base system. Even better, the INNO system came with included locks to lock the system to the vehicle. Many years ago, the Yakima four lock cylinders were $[XX] extra - probably much more now. So, I think the INNO is at least as sturdy and capable for much less money.
Feels premium and was pretty straight forward to install. I think it looks really good on the 2019 Honda Accord Sport. I plan to pair it with the Inno Wedge 660 cargo box. So far, it seems really well made and has a rubberized texture throughout. I installed it by myself in about 30 minutes without the instructions. It also shipped in only 2 days.
These Inno racks are very high quality, and the installation is straightforward. They look good, too.
I've been a happy etrailer customer for years. Sales staff helped me pick out the right roof rack setup for my new 2023 Escape that worked with my low-profile rails. 3 separate boxes of pieces but they all came together perfectly. Very happy with my purchase and etrailer customer support! Rack is solid, low wind noise and will work with the accessories I need, kayak carrier and cargo basket.
THEY DID IT AGAIN! I was looking for roof racks for our 2012 Honda Crosstour. OEM was not available. I called Etrailer and spoke to Anna and she listened to make sure we got just what we needed.Today I'm going to install and hope they fit our needs. I'm really impressed with Etrailer and there customer service! They have taken care of me many times with several different vehicles! Thank you
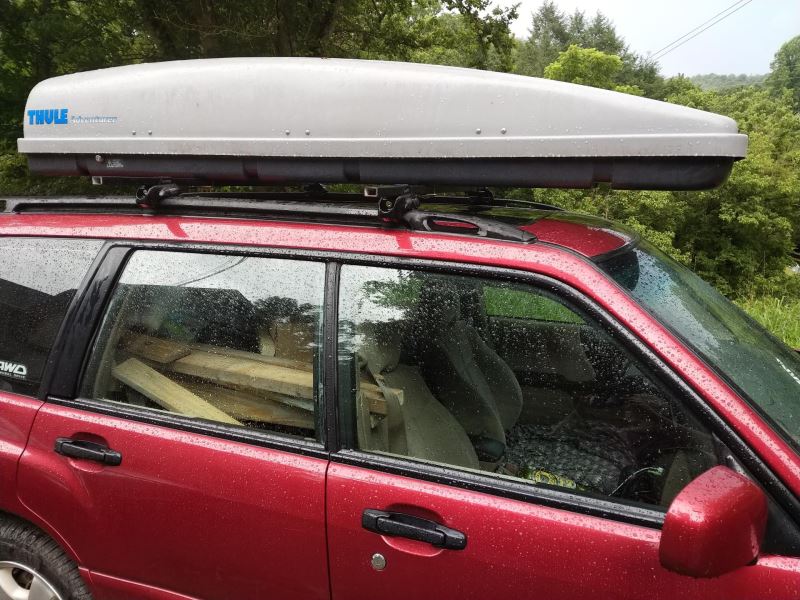
We bought this along with the INTR - Inno Feet for Square Crossbars. We used this to mount Thule crossbars and a Thule Adventurer cargo box on a 2001 Subaru Forester. Everything fit perfectly. The Inno mounts were completely compatible with the Thule crossbars. The fast and accurate shipping helped avert a crisis before a cross country trip.

Works great wouldnt have bought anything else and protects paint from getn scratched since i dont roof rails
My wife and I bought a 2019 Tyson with a bare roof and wanted a rack system that would be safe affordable and easy to install and not having to Buy and installed side rails. The Inno system was perfect. . It is solid material with a solid build. The directions were a bit confusing but after some time and with the etrailer how to videos it really made the difference. Ordering was simple and fast. Madison was great to work with she was knowledgeable and helpful. The delivery was fast and exactly on time. I was going to go with another company and another rack system…. I’m glad I didn’t. I saved money and got a great product from a great company. Thanks etrailer, Inno and thanks Madison! And mostly for making my wife happy bc know we can get to kayaking!!!
etrailer gave me fast shipping and a great price. Inno quality is great. I’ve had this on for several months and use it to transport bikes. I use the cheap bike racks on [online] but they work.
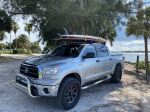
I purchased the Inno Rack system and Rhino Rack 581 saddles for my 2007 Mercury Montego. The instructions were easy to follow, and the rack is rock solid. It makes loading and unloading my kayak a breeze. I previously used roof pads and that was ridiculous compared to what this rack does for me now. I am amazed with how quiet with and without the kayak attached is - I don’t hear anything except the very slightest amount of wind with the windows open on the highway. I always have put a one turn twist in the bow and stern straps, but for the rest they’re all straight. I added an extra strap on the rear crossbar that goes behind the rear combing of my cockpit for extra security- but that’s just me. I’ve included a photo to show my setup. Thank you so much Mark S, Becky B, Carol C, and George J. etrailer rocks.
I have a 2022 Lexus GX460 Premium. Fairly simple installation and a almost seem less transition from the fit kit to the cross bar system. Can be done by one person, but I would suggest a two-person system to expedite the process.
2016 GOLF R MK7
Love it! Never installed one of these before. 30mins to put together. Another 30-45mins to install on the car. Once you get the concept for once of the bars, the second one goes by quick. It’s just understanding how it works/how it’s suppose to be installed at first.
Everything is good so far...the Inno rack system appears to made of good quality, fit and finish...it took about 2-hrs to get everything built, lined up, adjusted, tightened, loosened, repositioned, then retightened down...but I’m a bit of a perfectionist with things like this...plus I was checking my Saris cargo bin and various attachments, make sure that they’d all, which they do! And very well I might add...I just need to buy some new square carriage bolts for the channel now, along with new knobs...hoping that etrailer will get back to me with info soon...I will likely get a new wind deflector too...yesterday I did a test drive, was very pleased with the minimal whistling that occurred, and that was primarily between 30-40 mph and it was much quieter than my old Saris Roof Rack....after 40 mph the whistling got much quieter, very faint high highway speeds
Roof racks are very loud. Probably won’t keep them on all the time like I was planning. Shipping was very slow and took almost a month to get my order that was in stock. Overall the racks do what I need them to do.
Great system. Got it installed the night before a road trip, and once you get the hang of if, assembly is easy and intuitive. This system is rock solid and well done.
Things I wish I knew that would have helped in my decision:
1) After you install the footbeds, the rails and tower easily remove as one unit in the future, and they include little covers to put over the feet. No more long debates about wind noise. If you find them modify or don’t like the look, take it off in five minutes. Even the Allen wrench is stored neatly in the rack.
2) I had been a long time Yakima user, so that’s where I started with my GX rack. Having searched far and wide for landing pads, I was all set. Step one of the Yakima system: remove factory rails. Having just spent good money on this truck, I’m not taking off factory rails and adding silicone around the holes to create new mounting points. Innos fits nicely to the factory rails.
Well made. A bit complicated to assemble base, instructions could use some diagrams to help.
I was using Yakima Bowdown Kayak racks on my OE roof racks. The shape of the OE cross rails just didn't work well with the racks, and they were always loose. I installed the Inno square tube racks from Etrailer, and all is right in my world. Easy installation (thanks for the detailed instructions!) and a solid feel! No whistling, either! Quick shipment, best price anywhere! Thanks, Etrailer!
I am more than pleased by the service that I had at etrailer. I was looking for a very old roof rack for my Subaru Legacy 2007 and etrailer had it. I was suspicius about it so I wrote them and got a quick and friendly answer that confirmed the fit and availability. Delivery was quick and the tracking from etrailer website was outstanding.
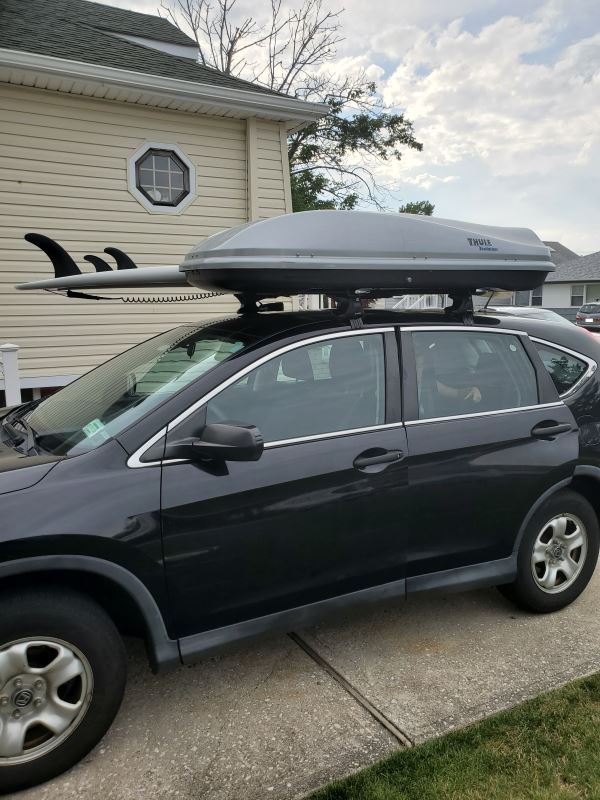
The Inno roof rack fit my 2014 Honda CRV very well. I used it immediately on a 500 mile trip and the rack is fantastic. I connected an XL Thule car box and 11'-6" paddle board to the rack and everything fit fine. The aero design is great and we did not hear any noise during the trip.
Fit perfectly. Went together easily. High quality parts. Great rack for paddleboards.
I was having trouble finding racks for an older VW golf, called cust service and they linked me with proper fitting racks, they came in the mail, and fit perfectly. Very stoked, etrailer for the win.
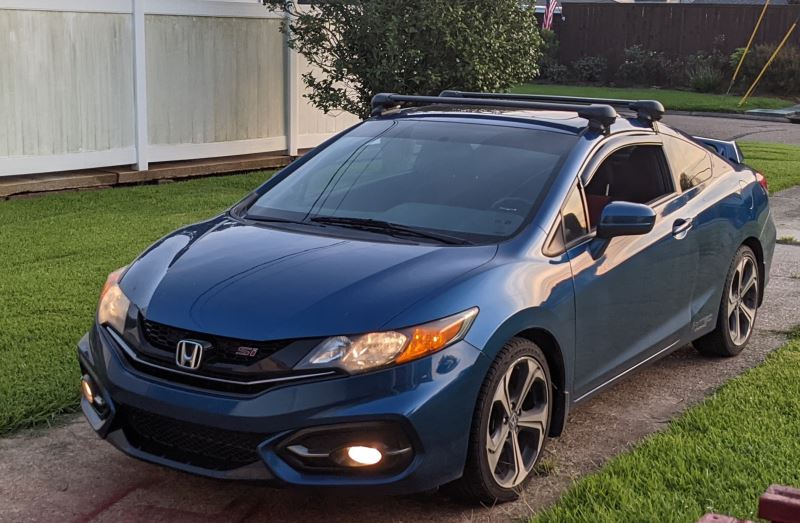
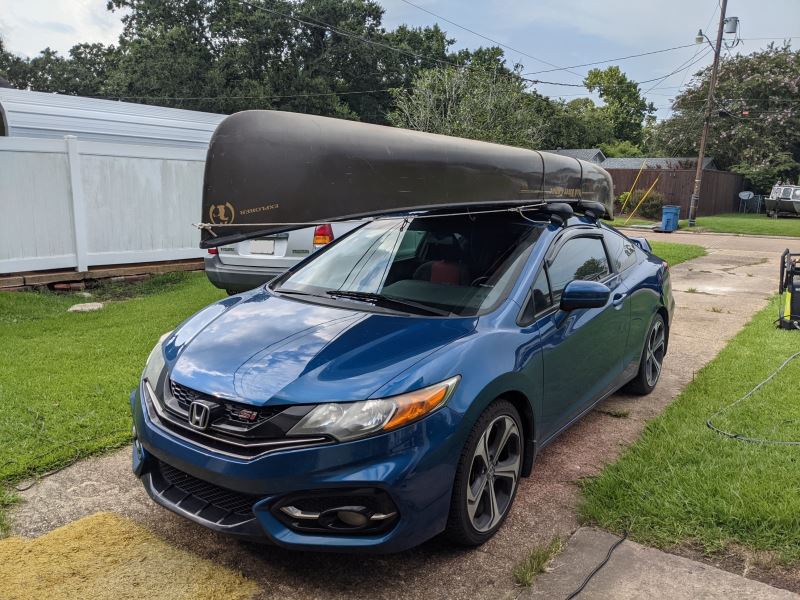
Great fit for a 2015 Honda Civic SI. If putting a long boat (17' Mad River pictured), the Thule canoe clamps are recommended. Without them, highway speeds would be risky if at all possible. I was pleasantly surprised out how stable the boat was on the rack without the clamps.
Etrailer was extremely helpful and knowledgeable about the racks for my 2008 Subaru. Delivery was super fast! Racks are solid and mount perfect! I have no worries that they can do the task for which I purchased them. The only downside is that the locking covers are not as well made as the racks and do not fit properly on my application. Basically they don't sit flush where they should. Only I would probably notice. I also purchased the matching wind fairing which looks great. I'm happy with my purchase and would recommend Etrailer for good products and service.
See what our Experts say about this Inno Roof Rack
- Roof Rack for Old Thule Square Crossbars on 2022 Ford MaverickThank you for all of the information! Since you're wanting to use your older Thule square crossbars you will need to use the Inno legs and fit kit as Thule updated their roof rack system a few years ago and their newer legs don't work with the older square bars. The Inno square bars have the same dimensions as the older Thule bars though which is why their kits are compatible. As of right now (January 2022) the only roof rack fit listed that fits this criteria is for the 2022 Ford Maverick....
view full answer... - What Kayak Rack will Work with My Tonneau Cover on My 2022 Ford Maverick?I have a great kayak carrier solution for you that works with your trifold tonneau cover. Unfortunately, I confirmed with our ladder rack manufacturers that we currently do not have a fitment of a ladder rack that will allow you to simultaneously install the rack with the cover installed. However, we do have a great roof rack option that allows you to transport your kayaks on the roof of your 2022 Ford Maverick to allow you to have a fully-functional tonneau cover. For that route, I recommend...
view full answer...
Do you have a question about this Roof Rack?
Info for this part was:


At etrailer.com we provide the best information available about the products we sell. We take the quality of our information seriously so that you can get the right part the first time. Let us know if anything is missing or if you have any questions.





























Thank you! Your comment has been submitted successfully. You should be able to view your question/comment here within a few days.
Error submitting comment. Please try again momentarily.