
Summer Starts Here - Save up to 70%
To see if this custom-fit item will work for you please tell us what vehicle you'll use it with.
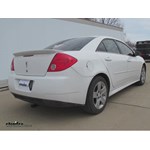
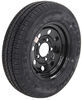
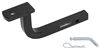
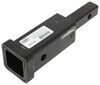
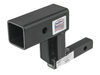
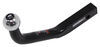
Perfect for light-duty towing, this custom, vehicle trailer hitch receiver features fully welded, gloss powder coated steel construction. Drawbar sold separately.
Features:
Specs:
At etrailer.com we're committed to the products we sell, and to our customers. Our experienced and knowledgeable staff are available via both phone and email to address your questions and concerns for the lifetime of your hitch. The technicians at etrailer perform hitch installations on a daily basis, making them a valuable resource for do-it-yourselfers. The one-on-one, personal service you'll receive comes straight from an expert in the towing and automotive field. We've installed it, we've wired it and we've towed with it, so whatever your question, we can answer it.

Videos are provided as a guide only. Refer to manufacturer installation instructions and specs for complete information.
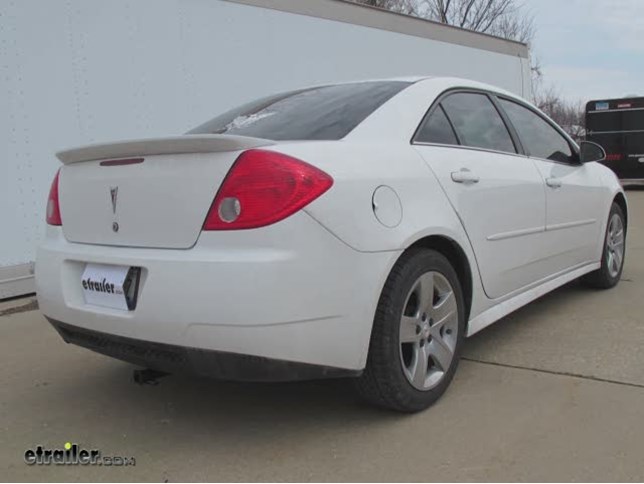
Today, on this 2010 Pontiac G6 we're going to install part number C12333 from Curt. This is what the hitch looks like once installed on our Pontiac. Next, we'll go ahead and give you some measurements to help you out in selecting some accessories, such as a bicycle rack or a cargo carrier. From the center of our hitch pin hole to the edge of the bumper, it's going to be about 8 inches. From the top of the receiver opening, down to the ground, will be about 9 inches. Now, we'll go ahead and show you how the hitch is installed. On our passenger side, we need to remove this bolt, and get this strap out of the way.
Now with the strap out of our way, we need to go ahead and hold our hitch up and use it as a template to mark our holes to drill our holes out. We'll have to drill three holes on each side. To do that, we'll go ahead and get an extra set of hands and hold up the hitch. Now, our hitch has an extra hole built-in, so when we put it up there we'll make sure that hole lines up when we mark for our holes. Once we have it in place we'll go ahead and use some spray paint to go ahead and mark for our holes. We got our marks for our holes we'll go ahead and drill those out using a quarter inch drill bit for a pilot hole.
Then, we'll go back at it with a larger sized bit. Now that our vehicle's ready, we can go ahead and install our hitch. To do that, we're going to need to install our hardware. We'll get a carriage bolt, and a block, they'll be pulled together in the frame and then through your frame and then through the hitch. The bottom will get a flange nut. This will be the same all the way around on the hitch.
On the passenger side, you'll get a new bolt for the strap clamp that we removed earlier. Now, to install our hardware, we'll use a bolt leader that comes with the kit. We'll take it and run it through the hole we're going to use. We'll take our block, push it onto the wire, and into the frame. Then, we'll thread in our bolt. Then, we'll push it in the frame, and pull it out.
We'll repeat this for the other attachment points. We're done with our driver side, we'll go ahead and repeat the same process over on our passenger side. However, our access holes is hidden behind these lines right here. We can reach behind it to get inside, but it'll be close to work with. To complicate matters, there's a brake line that goes right across the access hole. Now, I'll raise and lift our hitch in position. You may need an extra set of hands for this while we install the hardware. As we lift it up, we'll make sure we don't push any bolts back up into the frame. We'll install all our fasteners on finger type first. When we push our hitch up here, we got to pull down on these lines to get it out of our way, and make sure your bolt comes through. Then, we can slip it in position, and then, install our hardware. It's a good idea to get one nut started on each side and then we'll go back and install the remaining fasteners. To help align our strap up with the hole, we'll go ahead and use a screwdriver. Then, we'll hold it in place and install the new bolt that comes with the kit. However, since the hole is pretty large in the strap, I decided to add a small washer on my own just to take up some of the slack. Now, with all of our hardware loosely installed, we'll go ahead and tighten down everything for good. Then, torque the bolts down as specified in the instructions. With our bolt's tighten down, that will finish it for part number C12333 from Curt, on our 2010 Pontiac G6. .
Average Customer Rating: 4.9 out of 5 stars (8 Customer Reviews)
Perfect for light-duty towing, this custom, vehicle trailer hitch receiver features fully welded, gloss powder coated steel construction. Drawbar sold separately.
Hard to install only because you have to fish the bolts into the frame. Also had to cut some of the support off since it interfered with the muffler
Once installed, this little hitch did an amazing job.
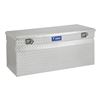
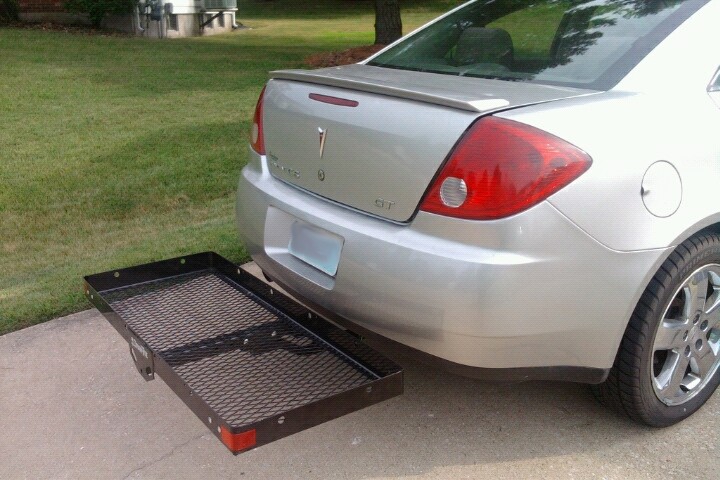
I love my G6 but the trunk opening is too small to fit in a large cooler and we were forced to put it in the back seat. With the addition of the Curt Trailer Hitch Receiver and a Cargo Carrier we have freed up enough room to take our dog with us on trips to the lake!
First I have to compliment etrailer on selling an excellent product that is well made and fits like a glove. Also, I am impressed with the ordering process and super fast delivery of their products. Thank God there are videos to watch on installation of the products because this is my 2nd hitch I have installed and I have to say both products had instructions that lacked any detail or illustrations to help. My recommendation to others who purchase the hitches is to find installation videos and throw the paper instructions away!
Did exactly what i needed it to do no issues putting it on my car.
Great product as described. Fast shipping. Great communication about updates. Would def buy from again.
Have not installed yet but seems well b uilt
Do you have a question about this Trailer Hitch?
Info for this part was:
At etrailer.com we provide the best information available about the products we sell. We take the quality of our information seriously so that you can get the right part the first time. Let us know if anything is missing or if you have any questions.


Thank you! Your comment has been submitted successfully. You should be able to view your question/comment here within a few days.
Error submitting comment. Please try again momentarily.