
To see if this custom-fit item will work for you please tell us what vehicle you'll use it with.

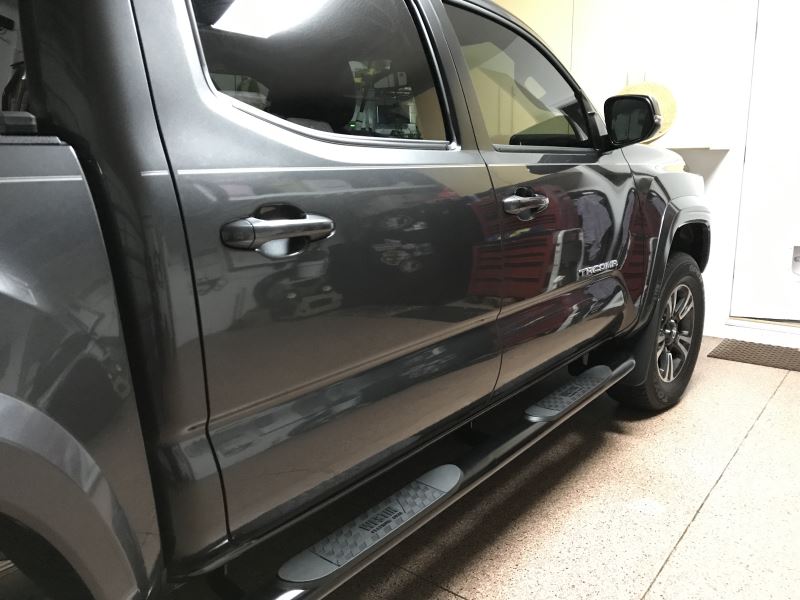
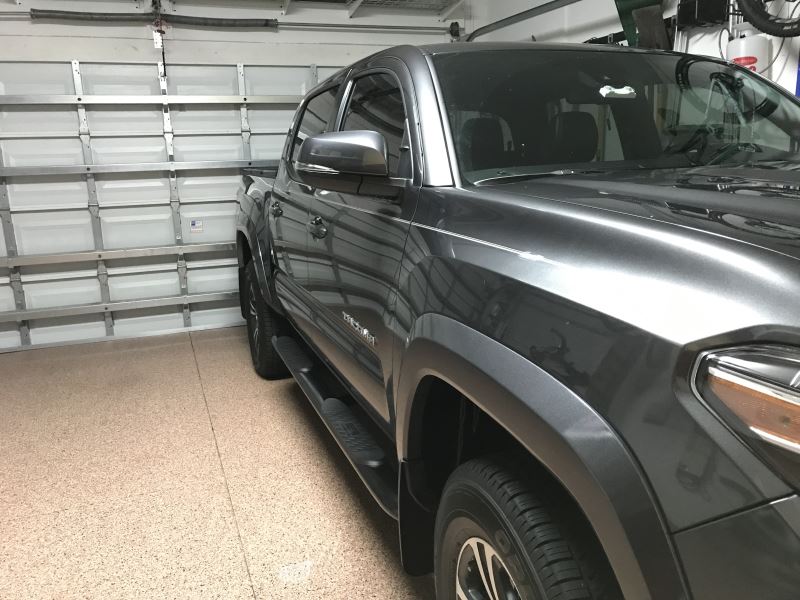
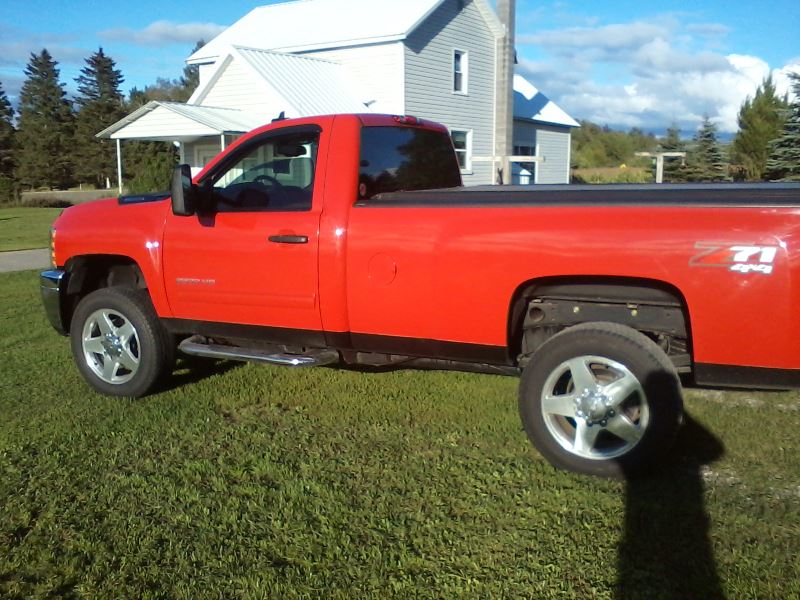
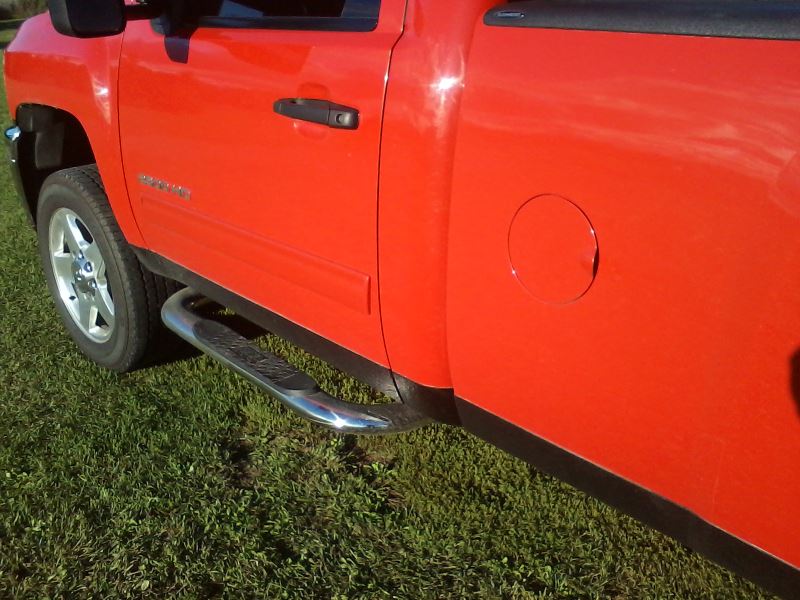
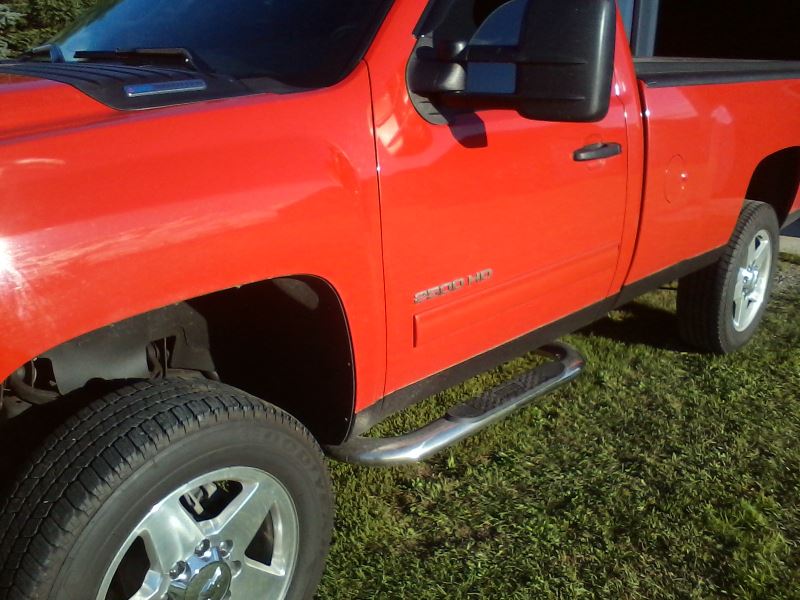
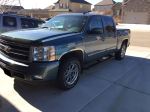
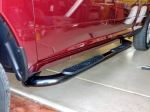
The curved ends on these polished stainless steel step bars give your vehicle a streamlined look. Footpad areas are recessed, rather than cut out, preserving the strength of the steel and providing a solid, rustproof step into your truck.
Features:
Specs:
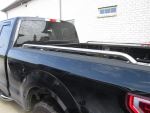
The step pad areas in Westin's Platinum Series oval nerf bars are indented instead of cut out, maintaining the structural integrity of the stainless steel tubing and preventing internal corrosion. 90-Degree mandrel bending at the corners means that there are no creases in the bars. This minimizes the chances of chips and rust at the bends and makes for sleeker, better-looking step bars.
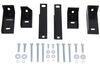
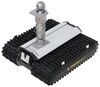
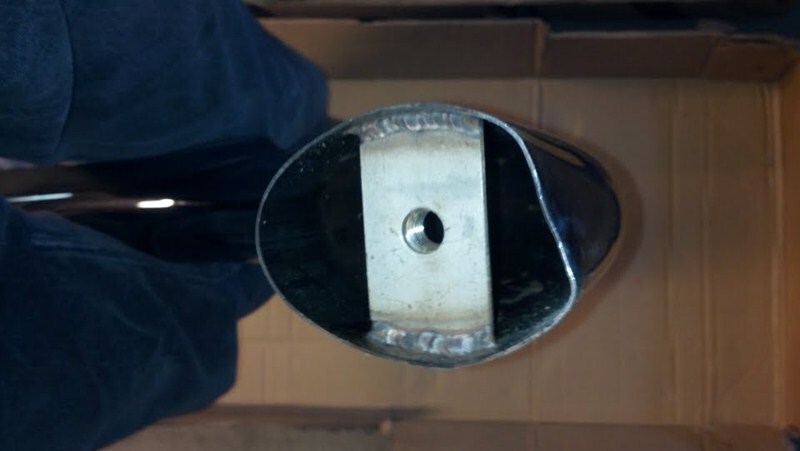
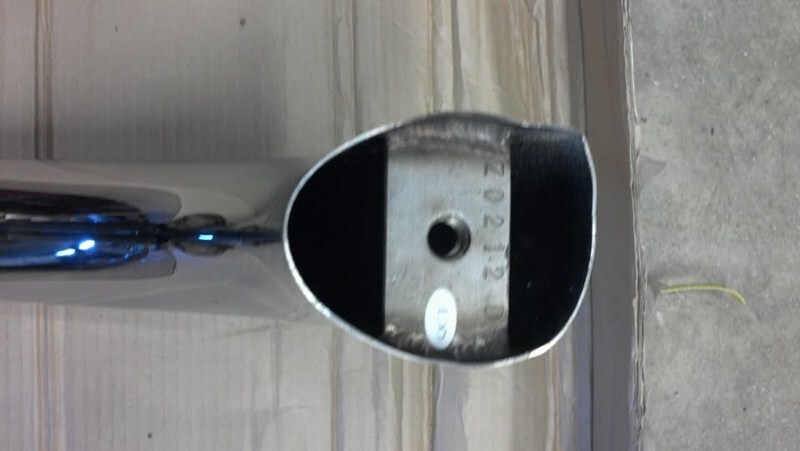
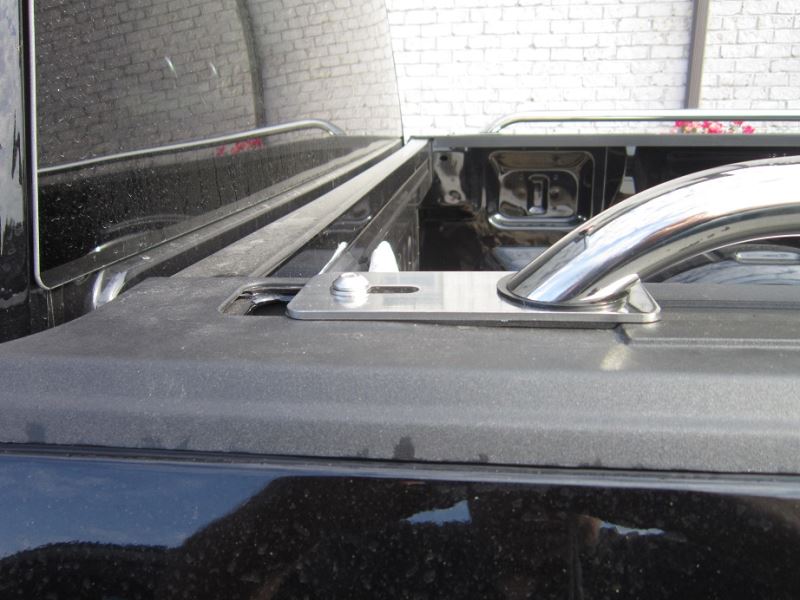
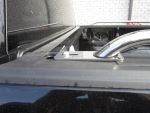
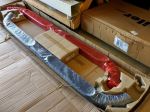
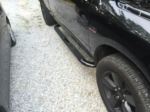
As shown in the image above, these step bars have a U-style tubing, which ensures that each bar conforms perfectly to your vehicle. Installation is quick and simple - just bolt the mounting brackets to existing holes in your truck's frame. No drilling is required.

California residents: click here
Videos are provided as a guide only. Refer to manufacturer installation instructions and specs for complete information.
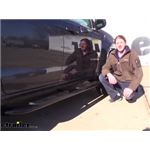
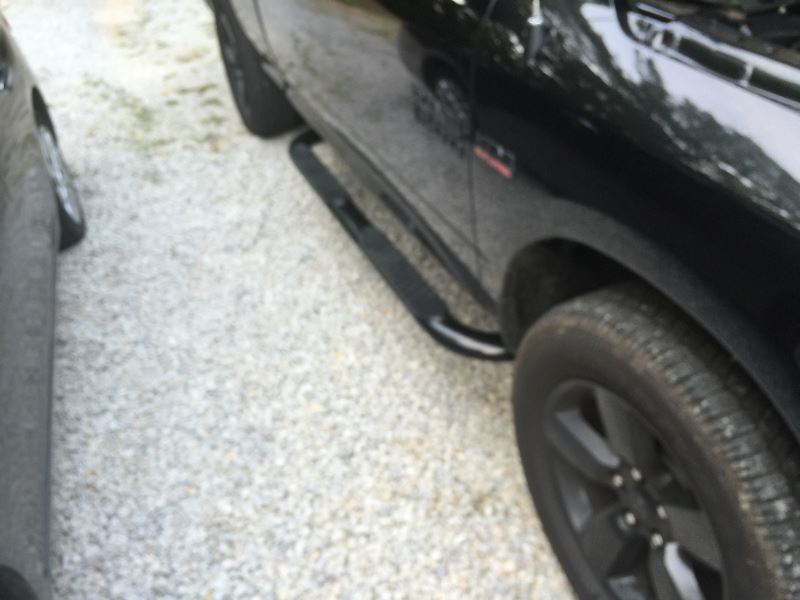
Hi, there Canyon owners today in your 2019 GMC Canyon, we're going to be taking a look at and showing you how to install Westin's Platinum Oval Nerf bars. These are available either in black, like you see here or in stainless steel. These Nerf bars are four inch diameter, and they're going to add to look at your Canyon, giving it a more rugged appearance. The Nerf bars are a solid sturdy metal, and they add to the whittier vehicle just a little bit, which makes your vehicle just overall look a little bit bigger and beef here than it was before. There are four traction pads located on the Nerf bars, two on each side, one for each door. The pads make it easier to get in and out of the vehicle, as well as providing additional traction.This is particularly useful, if you have mobility issues, you have young children, or if you just have a very high lifted truck.
And you can see here with my foot on the pad, I've got a pretty large foot size 13, and there's plenty of surface area here for me to step up into. It's an easy no-drill installation. And since we've gone over some of the features here, let's go ahead and go over that installation now. So you can have the confidence to do it at home. We'll begin our installation by installing the brackets for our Nerf bars.
We're going to start here at the front by removing the panel that you see right here, this little trim panel. To remove the trim panel here at the front, There are two screws here in our wheel well. We're going to use a T15 Torx socket to remove those.There's also another one, a little bit further in. Our panel can now come off. There are two tabs located behind it.
So you'll want to use a trim panel tool to assist you with removing it. We're going to try to get behind there and pop the pins out with our panel. If they don't come off with the panel, that's okay. We can pop those off afterwards and then put them back in. But if you can't get them off with it, it just makes things a little bit easier.
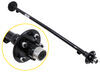
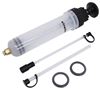
You can see here that ours didn't come off. That's okay. We can take our trim panel tool and place it behind it, and then just work it out. It'll then just slide back into our panel. Just like that. So I'm going to go ahead and remove the other one and put it back in here. We remove the panel to access these two bolts located behind it. We'll use a 10 millimeter socket to remove both of those. They are painted. So it can be a little difficult to get your socket on there.We'll, then take the small button head screws that come in your kit, place a black flat washer on it. And then we're just going to re-install this into the weld nuts, where we just removed those bolts. You want to tighten them down. This provides a hanger on the opposite side for our front bracket. You'll also want to pay attention that they are labeled. So we're on the driver's side. So we're using DF for driver's front. These, holes there slide up over our studs. You may have to kind of get it in there just right. And then you can slide it over like that. Now we're not going to leave it on there because these two holes over here, we have rubber grommets in the frame. We need to pop those out as well. So we're going to go ahead and move over to those.We're, now underneath the vehicle, we're just on the other side of where we we're working. Here's the bolts that we had just installed for the reason, it's like a hanger for our bracket. If we go to the rear of those. You'll find two grommets here. These are the ones that we need to pop out. So we're just going to use our flat blade screwdriver to get behind them, and then pop them out of there. Once you've got them popped out, you'll see a large hole next to a small hole. We're going to take our U shaped nuts here. They're going to slide through the large hole, and we're going to take the nut end and make sure that it lines up with the small hole after we slide it on. We'll then going to do that with this whole, but we want to make sure we're using the small hole here that's just above this one. We don't want to use the one up top.And if You accidentally put it in there, it's not really a big deal. You can move this nut around pretty easily. If it lines up with the wrong hole, sometimes it can be a little difficult to get it started in this one. Once you get it started, though, you can usually just take your screwdriver and kind of pry it, the rest of the inaudible 00:05:02. Now our bracket is ready to be put in place. So we're going to slide it over the bolts that we put on to hold it up. We're then going to take the smaller hex head bolts that come in our kit. We're going to place a lock washer on it, followed by a flat washer. We're using the larger diameter flat washer here. This one's going to go in the bottom into the U nut that we put in place. And we just want these to be loosely installed for now. So we're just trying to get it to grab, and that's Good.For the bolt directly above it. We're going to use similar hardware instead of the larger diameter flat washer, we're going to be using the smaller diameter one. Then on the backside of the bolts that we had run through, we use as a hanger. We're going to slide on a black flat washer, followed by a black lock washer, and a black nut. We're going to do that on the other bolts as well that we had run through. And all of this hardware is going to remain loose. We've now moved to our rear bracket. So if you just follow your frame rail down, you'll find grommets here at the back. And these are located pretty much, right on top of one another, we're going to remove these.And then we need to fish wire in these bolts here. The bolt is going to come out through this, so it will be like that. And this is our access hole to feed it in. So in order to get that hardware in there, we're going to use the fish wire that comes in our kit, poke the fish wire through the small hole. Feed it back down through the large hole, take one of the bolts with the weld plate on it, and thread it onto the fish wire. Now that we've got it thread on to our wire, we can push it into up into frame there and pull it back down. Once you pull it back down, we're going to take our fish wire off. Because we're going to need to reuse it for this top bolt here. But we're going to take the plastic washers that come in the kit and we're going to put it on these.These are a nice tight fit that you have to kind of thread on there a little bit. You can also just kind of push it on there, but it's pretty difficult to just push it. We don't want it to go on very far. We're just trying to go on enough to ensure that we have enough of the bolt sticking through to pass through the bracket that we're going to be putting on back here. So that's probably pretty good right there, because if we go all the way up, our bolts going to be kind of stuck here. This keeps us from pushing it all the way back in, but does let us push some of it in there because we are going to have to push most of the bolts up in order to get our bracket in place. So we're not going to repeat that same process with this hole up here.Now that we've got them both in place, we can put our lower bracket on. If you look at our lower bracket here, the large slot here goes down. That's where our Nerf bar is going to attach. So we're going to use these two slotted holes here and feed our bolts through them. So in order to do this, you're going to have to get one bolt started in the other. So what I usually do is push the bottom bolt up into the frame. Not all the way, just up to the where that little plastic washer was. And then I can push the top one in and kind of angle it down, until we get them just pass through like that. Now there is lock washers and washers we're putting on here, but we're going to just start with the nut alone. Because as we tighten this down, it's going to pull more of the threads through to allow us to use the other hardware. So I'm just going to do that on this one.We should have plenty of length there to work with. We're going to do the same on this bottom one. Because also, when you pull these through, it kind of keeps the bracket in place. So I took the nut back off now. Now that I got each one started, I'm going to slide the large flat washer and lock washer on and then loosely re-install the nuts. We're going to do that on the bottom bolt there as well now. We're once again, back at our front bracket, we're going to put on our support strap that goes from the body mount bolt right here. So this is just right behind the bracket, if you we're standing on the outside, looking in. We're going to use a 21 millimeter socket to remove the bolts.We'll, then take our front support strap. We're going to have our slotted end facing out the regular hole there. Our bolt will slide through. We're going to place a spacer on top and then re-installed as bolt. We also want to leave this bolt loose though for now. So we can get everything lined up when we go to put the Nerf bars in place. And then I'm going to head back towards the middle of the vehicle. There's another body mount right here. We're going to be using this one for our middle support strap. Uses the same size socket to remove the bolt.We'll, then take our middle support strap this time the slotted hole is going to go towards the inside with our bolt in it. We'll just slide it back up in, and then we're going to reinstall it. Again, we're going to leave this one loose. We can now prepare the hardware for our Nerf bars. It's going to use the larger hex head bolts that come in the kit with the larger lock washer and flat washer on it. We'll have two one for the front and the rear. You can go ahead and slide those through your brackets. They should hold in place. I like to do that just because it kind of is a little easier when you're trying to hold the Nerf bar up to get that bolt started. We're not going to get our Nerf bar. I just want, wanted to point out that they are specific to the passenger and driver's side. They come wrapped in this bubble wrap here and there's a sticker on it. Indicating which side it is.We'll then bring our Nerf bar over and we're going to get one bolt started and then the other. I usually just rest one side on the ground and that way I can hold this side up. Line it up with the nut and get it started. Again, we don't need to tighten it all the way down. We're really just looking to get it started at this point. So we can go up to the front and get it started. So, that's good there. We'll then come up to the front here and install this one. And with our middle bracket here, we're going to be using the large button head bolt that comes in the kit with a lock washer and flat washer on it that are also black. Now, we can take the lower bracket here for the middle and line that up with the weld nuts in our Nerf bar. And again, we're just going to loosely install this.Now with everything loosely installed, we can go back and tighten down all the hardware. I'm going to start by tightening down the brackets at the front and rear. Then the middle, and then we'll tighten down the Nerf bar bolts at the end. So some of these, you may need a wrench to get to, if your socket is too long there. The small black bolts tightened down with a 10 millimeter socket or wrench. Make sure not to over-tighten the hardware. We want it to be just nice and snug. There is torque specs in your instruction. So I highly recommend that you torque those down to what those say. But they are all very low torque. So you're going to need a very low torque, torque wrench to do so. And we'll do the side hardware here at the top. The larger bolts here are going to use a 13 millimeter socket. We can then route through our back one.We're going to re-tighten down both of those body stud bolts that we took loose. We can now go back and tighten down our Nerf bar bolts. We're going to use a 19 millimeter socket or wrench to do so. And then we'll tighten down our middle bolt here. We're using the Allen keys that come included with our kit to tighten down the button head bolts. Coming from the large one for this one, and also with a smaller Allen key for the two smaller ones that we used as a hanger for the front bracket. And then we'll torque all of our hardware to the specifications found in our instructions. We can then replace our cover now lining up our pins, snapping those back in place, and then reinstalling the screws that hold it in. Repeat all the same steps, to do our passenger side. And that completes our look at Westin's Platinum Oval Nerf bars on our 2019 GMC Canyon.
Average Customer Rating: 4.6 out of 5 stars (116 Customer Reviews)
The curved ends on these polished stainless steel step bars give your vehicle a streamlined look. Footpad areas are recessed, rather than cut out, preserving the strength of the steel and providing a solid, rustproof step into your truck.Installed on 2018 Tacoma sport. Unfortunately, it arrived with a ding in the passenger side bar. It was very disappointing, but by the time I saw it (I should have thoroughly checked both bars before starting install), I had already installed the driver’s side. I said, to heck with it and didn’t bother with a return.
It was an extremely easy install with quick delivery and overall, they look great. Now, I don’t have to haul myself up into my Tacoma. The step inserts are basically a heavy duty plastic. I figure if they are slippery, I can spray them with a propert texturing coating. At some point, I’ll probably also texture/ mat spray the bars themselves since they’re gloss finish.

Fit and fastener alignment was good. Easy installation. Pleased with product quality.
These Nerf Bars are just what my truck needed! They look awesome and were a cinch to install. Customer service is also great and I can’t say enough about the ETRAILER web site. Will definitely use them again!!
Very well built. Replaced a pair of Westin nerf bars that were 20 years old. Very easy to install. Well worth the money. I have always liked Westin products. Etrailers always delivers no matter what you need!
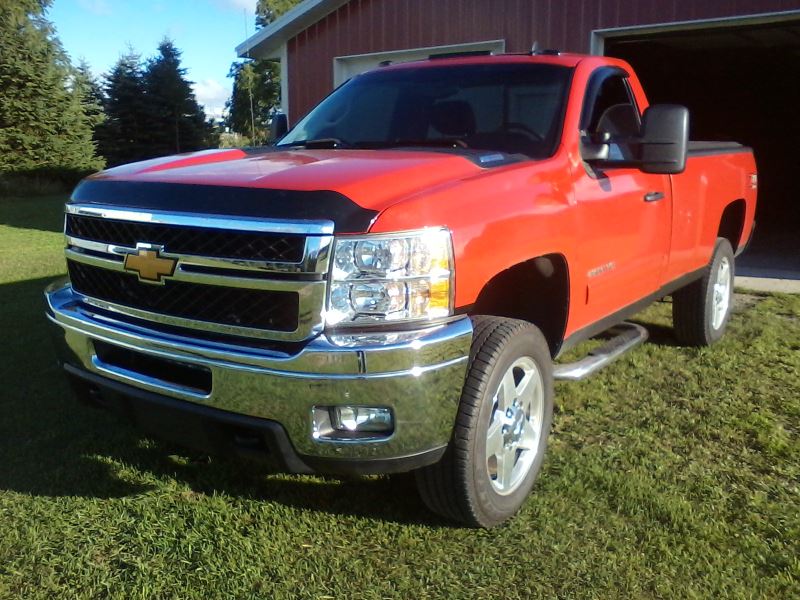
Excellent product. Looks great on my vintage 2004 Silverado. Easy installation once I CAREFULLY removed the body mount bolts. Only suggestion would be to include the torque specs for the body mounting bolts for reinstallation.
The step/bars look good.
Install wasn't tough but Westin's instructions are poor- I just figured it out on my own.
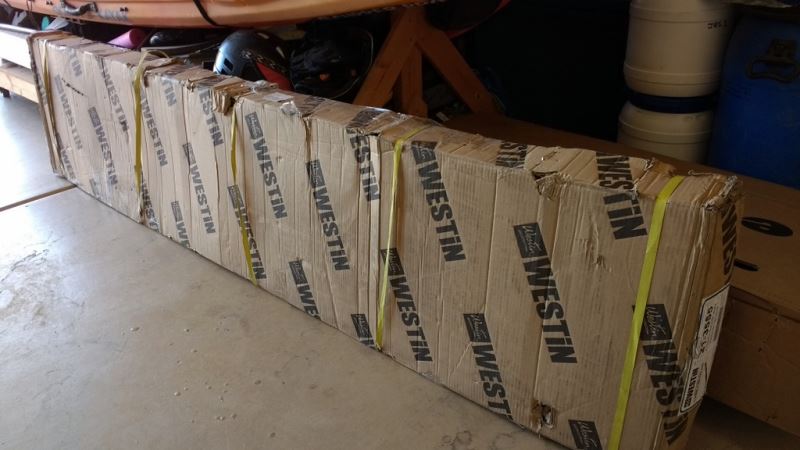
While the packaging looked stout, 3 of the 4 open bar ends were bent in, like someone dropped the box on both ends. I did a decent job of banging the dents out and installed them. Those ends aren't seen once installed. Someone needs to look at a better way to protect them during shipping.
Overall I'm just satisfied with the product.
I am very happy with these running boards. They are just the right width for easy use. They are solid, and they installed easily on my Tundra. I would buy these again if I had it to do over.
After 1 year I have nothing bad to say about these bars they do as I wanted getting everyone in and out of my truck with ease. It was more for protecting the seats from sliding in and out not to break down the seat cushion and to protect the cloth seats from tears, but after sitting in the truck at a shopping center it does something I never thought of, other people hit the bars with car doors not my truck, they still look like new
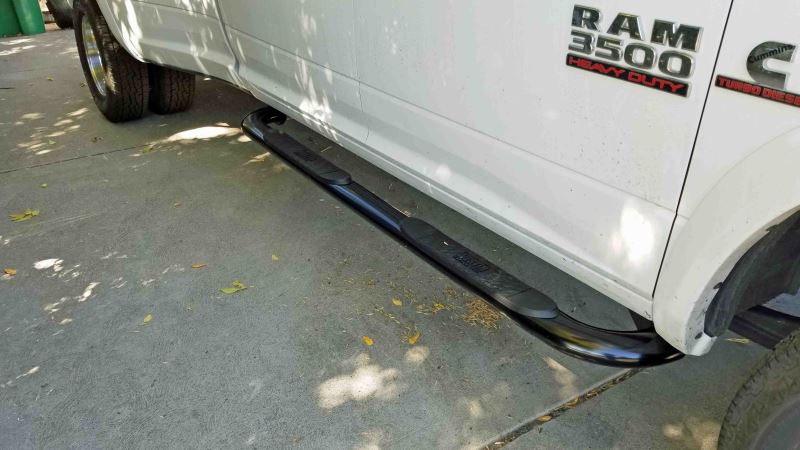
Product is as described. Installation was not complicated and easily done by one person. Fit perfectly on my 2018 Ram 3500. Install tip: duct tape is your friend when you fumble one of the nut holders into the frame. That will slow you down. :-)
It just was delivered today. I want be able to write a review until I get them installed.
Price was good and shipping was very fast.
Look nice. Easy installation. The instructions were a little vague.
These Western tube steps fit my 2013 Silverado Reg. cab perfect, even with the DEF tank.
Installed quickly, and look great.
Thanks Chris W. at etrailer.com
Excellent product and great value. Installation of the brackets and bars were simple and did everything myself. Bars are lightweight, but very sturdy and robust. The plastic steps are rather heavy duty and not loose. The 4 inch diameter is the perfect size for my needs: doesn't stick out far like most running boards and not too small to where my feet wouldn't get good purchase on a step.
The bars weren't has curved inward under the body as advertised. The pictures show these bar curve in a lot, but the bars I got only had a slight bend at the ends. If you've got front mudguards, the bar will touch the guard; it wont actually put pressure or bend the mudguard, but just touch it. Despite the inaccuracy of the pictures, it turned out well as the mudguard would interfere with a fully curved in bar. It still looks sleek. There really isn't much of a gap between the bars and body, the bar isn't low so my ground clearance isn't compromised.
Overall, great bars that look great and function well.
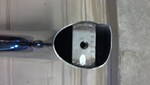
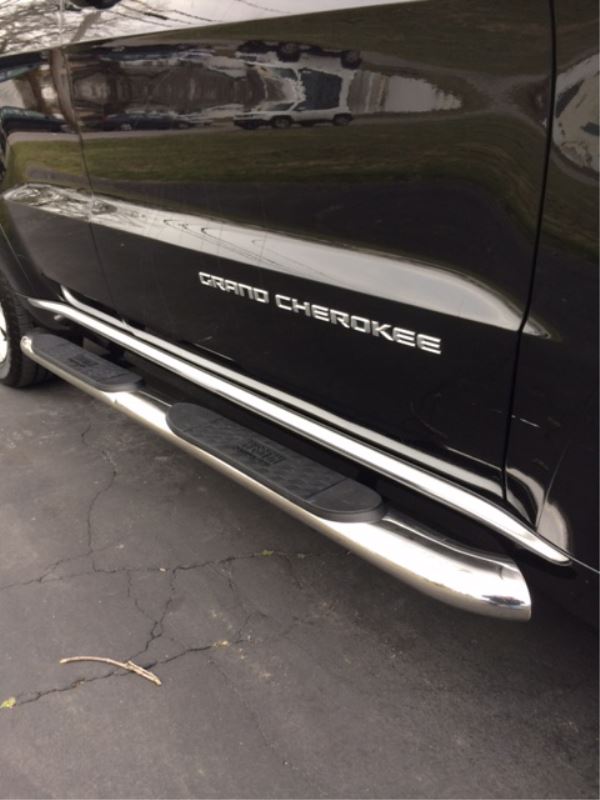
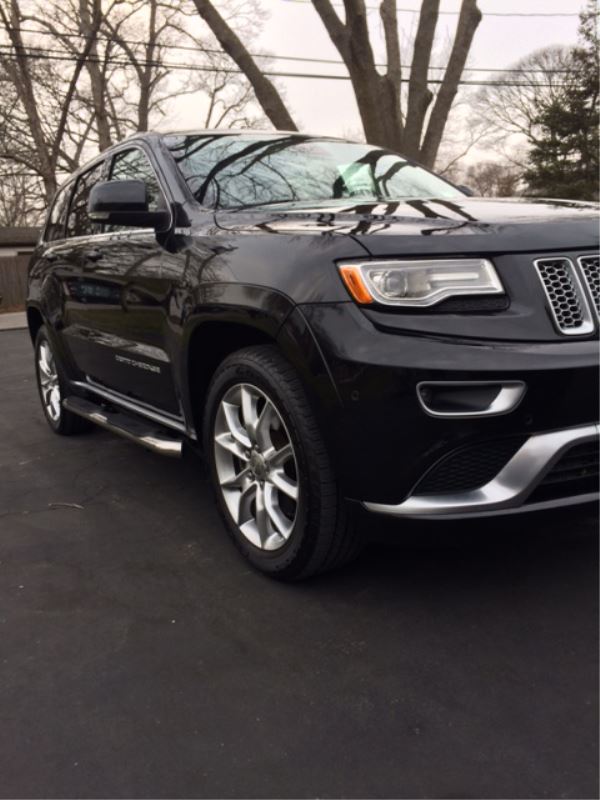
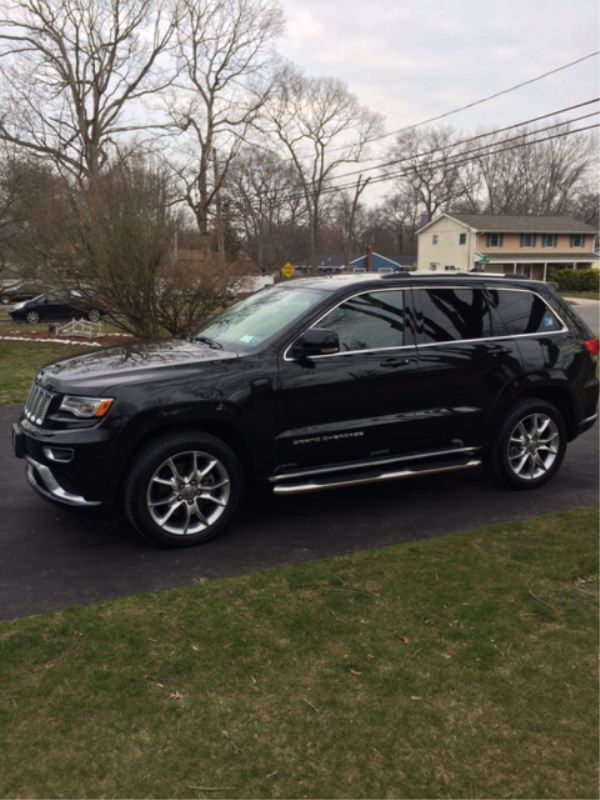
Installed the Westin 21-3610 4 in oval SS step bars on my 2015 Jeep GC Summit.Hemi California edition - perfect fit. See photos. After 2014 Jeep uses 12 mil plastic stickers instead of the rubber plug caps for the oval cutouts as called out in the Westin install procedure - use a small wood chisel to remove the cover stickers carefully.
just what I ordered!!!
This is my third purchase of this type of nerf bar step system and they have proven to be rugged and very functional in Wyoming’s back country and temperature extremes. I ran into a bit of difficulty with this set as one of the nerf bar center supports was incorrectly located. etrailer’s Ashley helped resolve and shipped a replacements. Fantastic customer service as always.!
Good product but did not fit my 2019 F150 with 6'7" bed as claimed by Westin. I was able to get them on, but, they did not go over the stake pockets as they are supposed to. I notified etrailer of the issue and they quickly accepted a fully refunded return … even though I had installed them. Hopefully the product listing on the website was corrected so that no one else will get them in error. KUDOs to the etrailer folks for working with me on this!!
As others have noted, the instructions are not terribly robust, but once I got oriented, I was able to move along quite quickly. Either the rear brackets were mis-labeled, or the 2017 frame is slightly different. Swapping the parts side to side made the holes line up the way they should. Install took less than 90 minutes. I'm very pleased with the fit, finish, and the always fast service from e-Trailer.
The package arrived early in the day because the UPS driver didn't want to work around it in his truck all day. That meant I could install them right away. Nice!
Great steps for a great price!
Easy install using the video, had all the parts needed, very solid nerf bars.
Packaged very well! Easy install! Looks great on customer vehicle! The hardest part was getting the factory bolts out!! Install was done in about 20 minutes! Thanks for a great product, would recommend to anyone!!
Both nerf bars arrived with dents in th em
The product was flawless: E.Trailer is great when it comes to taking your order and processing it whether it's in stock or "drop shipped" from the manufacturer.
Looks great and holds up to the weight. Instructions weren't great, took a while to install, but defiantly recommend to anyone
Info for this part was:
At etrailer.com we provide the best information available about the products we sell. We take the quality of our information seriously so that you can get the right part the first time. Let us know if anything is missing or if you have any questions.


Thank you! Your comment has been submitted successfully. You should be able to view your question/comment here within a few days.
Error submitting comment. Please try again momentarily.