bing tracking image

How to Replace an RV Roof Vent Cover

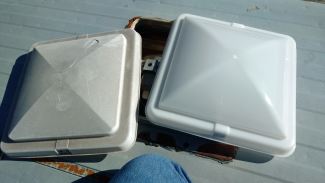
Nothing lasts forever, especially when it comes to RV parts. Constant exposure to rain, hail, and blazing sun can leave your roof vent cover cracked, worn, or otherwise damaged.Fortunately, replacing your RV's roof vent cover is an easy DIY project! We'll walk you through the process below.NOTE: This article covers replacing an RV roof vent cover/lid—not the vent itself. If you need to replace the entire vent assembly, check out our article here covering that topic.
Choosing the Right RV Vent Cover:
  • Size
  • Hinge Style
  • Color & Material
Installing the RV Vent Cover:
  • Remove Interior Components
  • Remove Crank Assembly
  • Remove/Replace Old Cover
  • Reinstall Interior Components
RV Roof Vent Covers

Choosing the Right RV Vent Cover

If the vent itself still works fine, but your cover/lid is cracked or otherwise damaged, you're in luck—in most cases, this is a simple repair that will run you about $30 or less. Before we can get into how to install the new cover, however, we'll go over how to select the right new cover for your RV vent.It's crucial that you choose a new vent cover that is compatible with your current vent. There are 3 main things to keep in mind when choosing a cover: size, hinge style, and color. We'll go over each of these in more depth below.
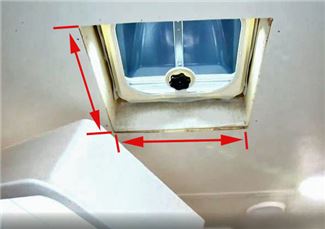
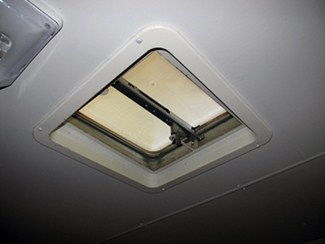
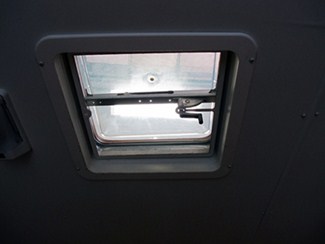
SizeThe first thing you need to do is measure your roof vent opening (not the cover itself). The standard vent opening size is 14-1/4" x 14-1/4". However, it's best to verify the measurements yourself in case your RV is a rebel that goes against the norm. To make things easier, you can remove the garnish from your vent to measure the opening from the inside.To verify correct replacement, you can measure the length and width of your old lid and compare these dimensions with those of available replacement lids.
Measure RV Roof Vent Opening

Hinge Style

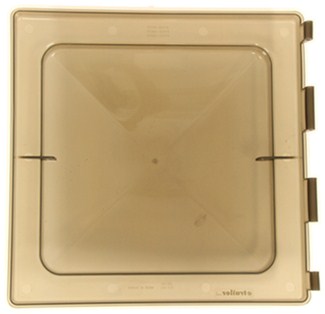
Fortunately, selecting the right hinge style is easy. A quick visual inspection of your current cover's hinge should tell you all you need to know. Most hinges are either 3-point, 4-point, or continuous style. Your replacement should be of the same style as your original cover.
Pro tip: If your current vent's manufacturer name is located on the lid, this can point you in the right direction. However, some manufacturers have altered their hardware over the years and have sold multiple vent styles, so it's important to confirm the hinge style before purchasing a replacement.
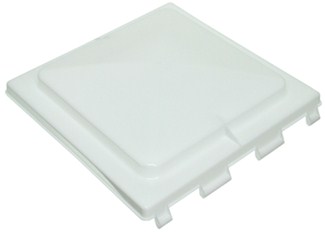
3-Point RV Roof Vent Cover
3-Point Hinge
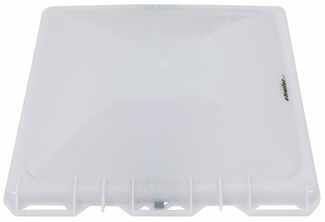
4-Point RV Roof Vent Cover
4-Point Hinge
Continuous Hinge RV Roof Vent Cover
Continuous Hinge

Color & Material

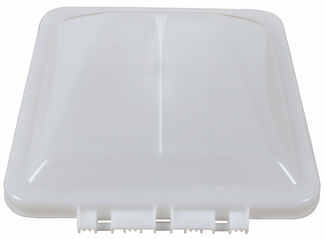
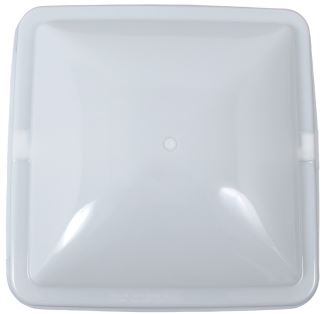
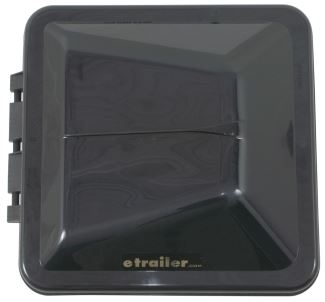
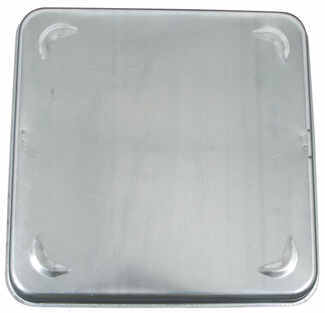
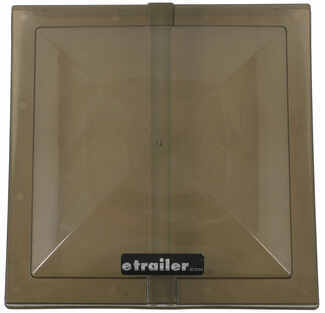
Most lids are plastic, although some are metal. Plastic lids are available in white or smoke (tinted) colors (note that the tinted color can vary between brands). Both white and smoke lids allow in some light when the vent is closed, though the light may be brighter with a white lid.
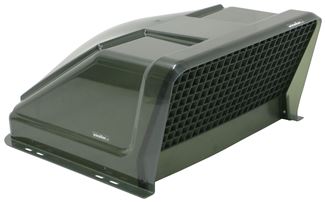
RV Roof Vent Cover
RV Roof Vent Cover
RV Roof Vent Cover
RV Roof Vent Cover
RV Roof Vent Cover
Smoked RV Vent Cover
Smoked Vent Cover
RV White Vent Lid
White Vent Lid

Installing the RV Vent Cover

Once you've selected your RV roof vent cover, you can then install it. Replacing your old cover with the new one is a simple DIY project that only takes a few minutes. Follow our 4-step guide below, or check out our how-to video to see how it's done.

Step 1: Remove Interior Components

Remove the trim panel, crank handle, and screen.
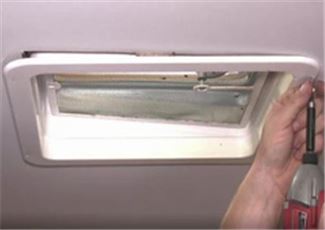
Remove Vent Trim Panel
Remove the trim panel.
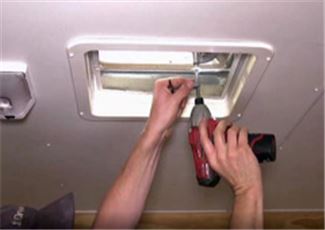
Remove Crank Handle
Remove the crank handle.
Remove Vent Screen
Remove the screen.

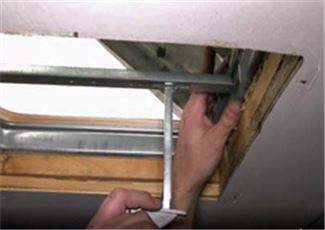
Step 2: Unscrew Crank Assembly

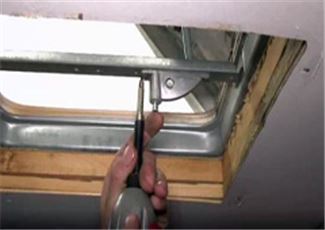
Unscrew the crank assembly from the crossbar and release the arm from the lid by sliding it from its track.
Unscrew Vent Assembly
Unscrew the crank assembly.
Remove Arm from Lid
Detach the arm from the lid.

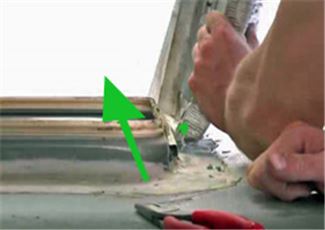
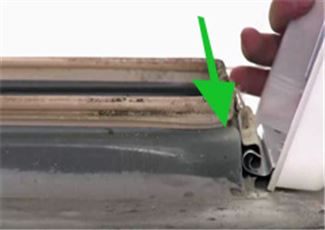
Step 3: Remove/Replace Old Cover

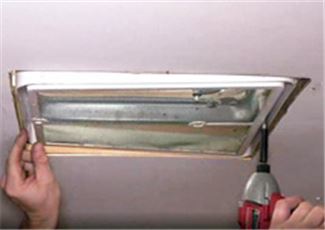
Remove the old cover from the hinge. Slide on the new cover.
Remove Lid from Hinge
Slide New Cover Into Place

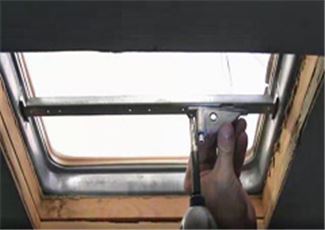
Step 4: Reinstall Interior Components
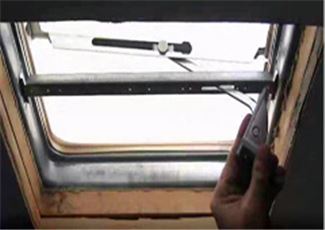
Reinstall the components in reverse order. Line up the crank arm and slide it into the track so that the arm is connected to the lid. Reinstall the crank assembly to the crossbar. Then reinstall the screen, crank handle, and trim ring.
Replace Crank Arm In Track
Replace the crank arm in its track.
Reinstall Crank Arm to Vent
Replace the crank assembly.
Reinstall screen, crank handle, and trim ring
Reinstall the screen, crank handle, and trim ring.
Still have questions?Email us or give us a call at 800-298-8924.
Save or Share This Idea
Related ArticlesRelated Products

Ken S.

10/15/2023

The roof cover for my Fantastc Fan is broken. Can I buy a replacement cover and install it myself.

Etrailer Expert

Mike L.

10/17/2023

@KenS You sure can! They're available in tinted as part # FVK1020-19 or white as # FVK1020-81.

Steve I.

5/23/2020

My vent works except the fan blades are broken. Do you sell the replacement fan blade?

Etrailer Expert

Chris R.

5/26/2020

We do! I linked our full selection below. If you can tell me what model vent you have I will be happy to try and track down the right replacement.

Steve I.

5/26/2020

@ChrisR I pulled the broken fan blade. It is marked VD215 so I am ordering the VDO 0215 which should do it. My motor shaft is splined for a forced on fit.
Etrailer Expert

Chris R.

5/29/2020

@SteveI Perfect! The Replacement Fan Blade # BVD0215-00 is correct for your VD215 model assembly.
See All (5) Replies to Steve I. ∨


Departments

Towing

Sports and Recreation

Trailer Parts

Vehicle

What our customers are saying:

"Very helpful/friendly Customer Service. Competitive Pricing. Shipping was Fast."

John
Mankato, MN

Popular Vehicles